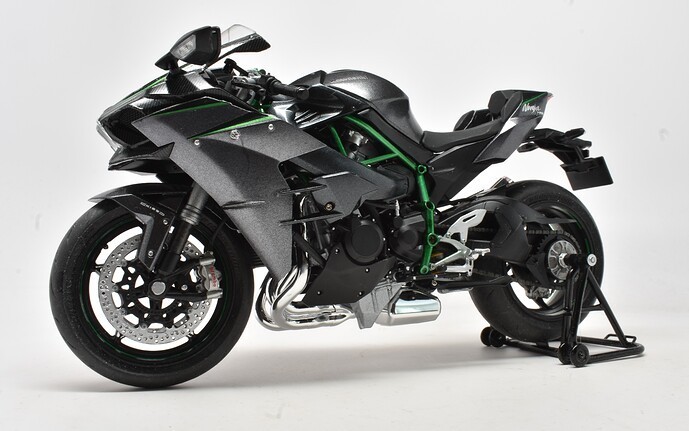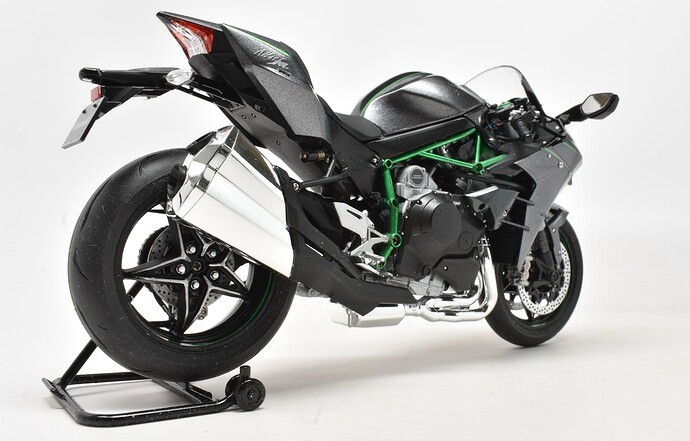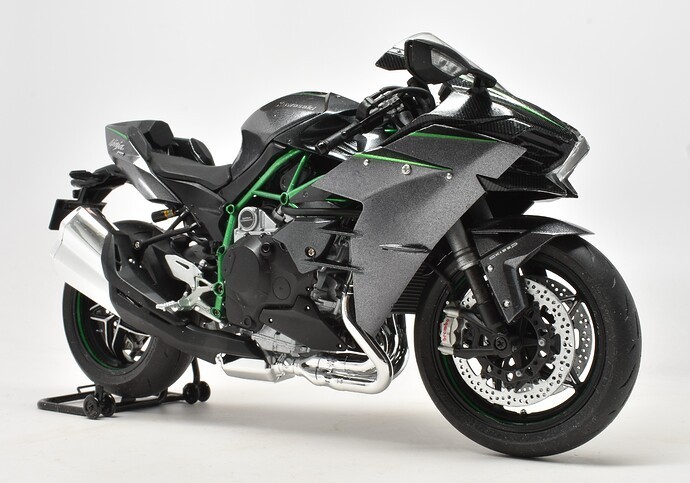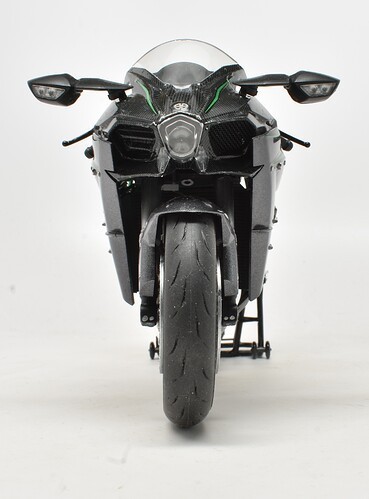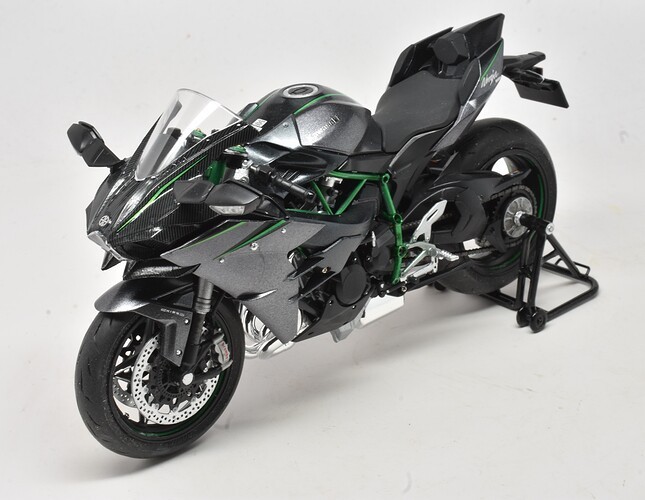
I’ve built dozens of Tamiya motorcycle kits through the years, but I’d lost touch with the newer bikes in the series. That changed when I looked at the ads for the Tamiya Kawasaki Ninja H2 Carbon in 1/12 scale. What caught my eye was the engine. It had what we call in drag racing a Pro charger, which is a crank driven supercharger. It looks like a turbocharger but is driven by the crank rather than the exhaust. This makes more power with less lag time. And the bike makes 200 horsepower, and weighs only 475 lbs. To give you a comparison, my 2020 Subaru Legacy would need 1,512 horsepower to have the same horsepower to weight ratio (it has 181 HP and is pretty peppy). This got my head spinning, and I messaged my friend Bob Carlson, one of the top motorcycle drag racers in the country. I asked him how fast this would go on a dragstrip. The answer….9 flat stock, and high 7s with a stretched fork and minor motor work. That translates into trap speeds of about 150stock and 180 modified, in only ¼ mile. I found the kit was very reasonably priced, so I bought one to see what I could learn about a bike that gives true meaning to the term ‘crotch rocket’.
In overview, the kit is pretty similar in breakdown to other Tamiya bike kits, albeit with more detail, and the detail itself being more refined. The decal sheet is extensive, with some labels that can barely be seen after assembly.
I paid attention to the assembly book, and noted most of the paint colors matched to Tamiya sprays, and many color combinations called for abase coat of one color and an overcoat of another. Thinking through this, I decided to break with my usual assembly sequence (bodywork and painting first) and assemble the kit per the instructions order. I went through the book pretty much in the order given, working on 3-4 steps at a time. This led to minor pre-assembly and painting of the base colors, then detail painting and decals, and finally assembly. I only used my airbrush twice in the entire build, relying on Tamiya spray cans. This led to an entirely satisfactory result, and I’d recommend this order to anyone building the kit.
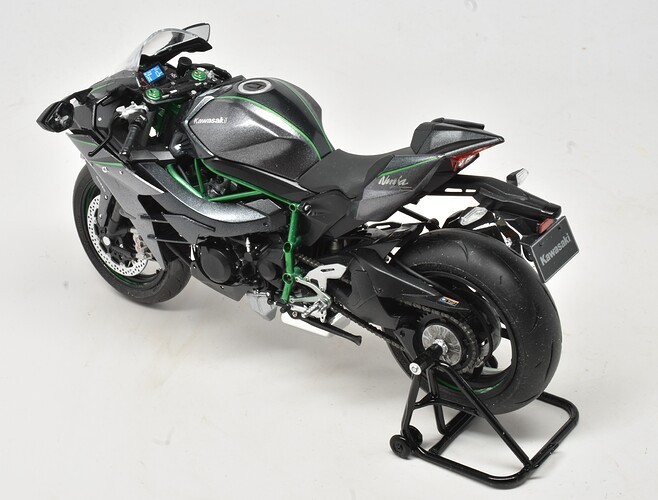
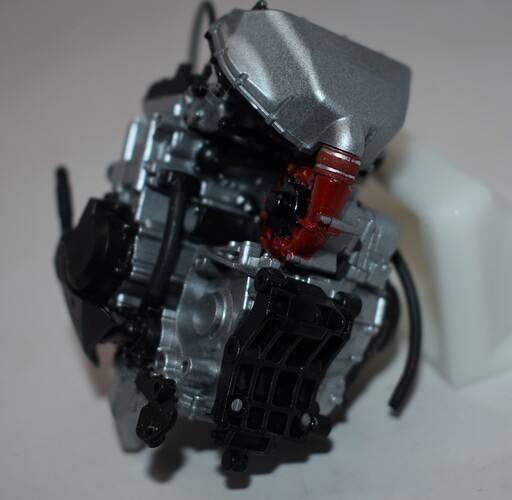
The engine itself is impressive, and the Pro charger has a ton of detail painting. Unfortunately, it literally can’t be seen when finished; the engine blocks one side, and the massive air duct the other! I’m glad I took photos before assembly. I should note that in my opinion, Tamiya has improved their already superb fit on all of their plastic models over the past three to five years (see my review of the P38 Lightning on Aeroscale), and this kit was no exception; the fit was perfect throughout. The engine gets situated in a very abbreviated trellis frame.
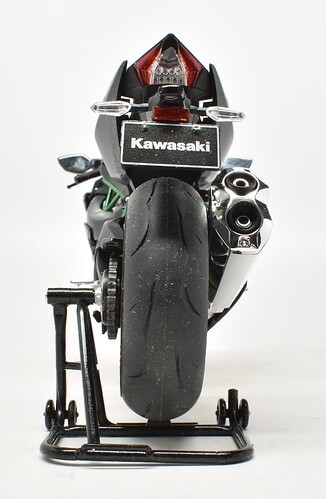
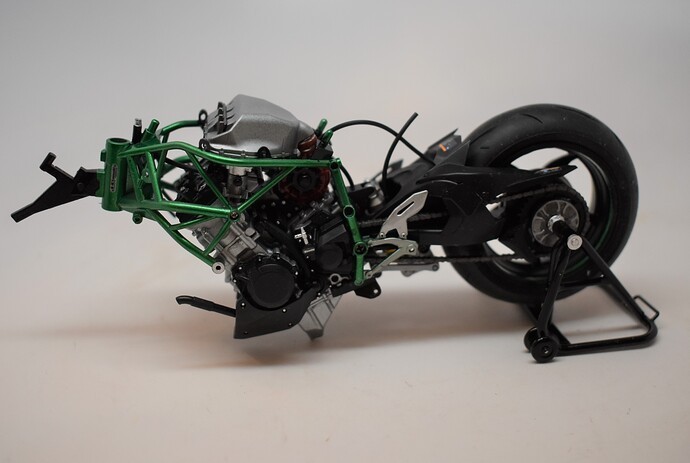
The next step is the unusual mono-strut rear fork. The best feature here is the adjustable coil-over shock, which again can barely be seen on the finished product. The green stripe decals for the wheels fit surprisingly well. One of my stripes was about 1/8” short, but I think that was my error (and was very easy to hide). The back tire on this bike is a monster; the largest tire I’ve seen in this scale.
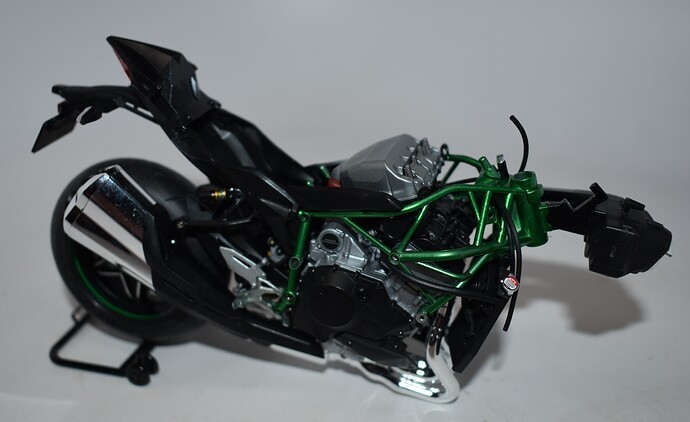
The top and back of the frame come next; only minor surprises, like most of the light lenses being clear due to the use of LEDs on the real bike. Another feature is the seat, which is as close to a bucket seat you’ll find on a bike; it’s done to give lateral and rear support to the rider upon acceleration and cornering, and hence has several more pieces of padding that you’ll find on most kits.
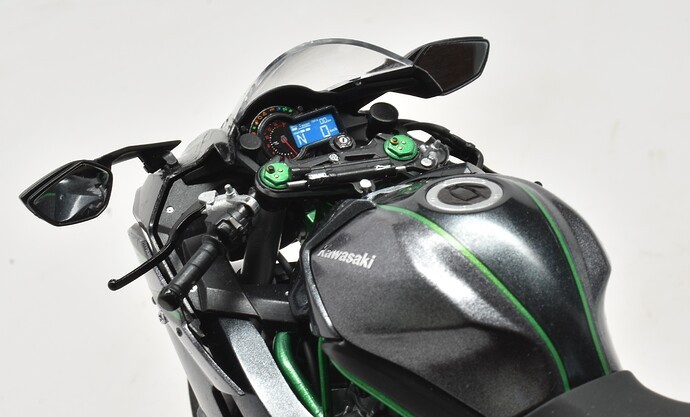
The front fork comes next. The breakdown and colors are fairly traditional, but Tamiya gives us two-piece brake calliper's for realism. Due to their visibility I chose to drill out the rotors, an easy task that did give me a blister on my hand as a souvenir of my hard work. The fork-head is very detailed as are the handlebars; each handlebar has five or six colors of paint.
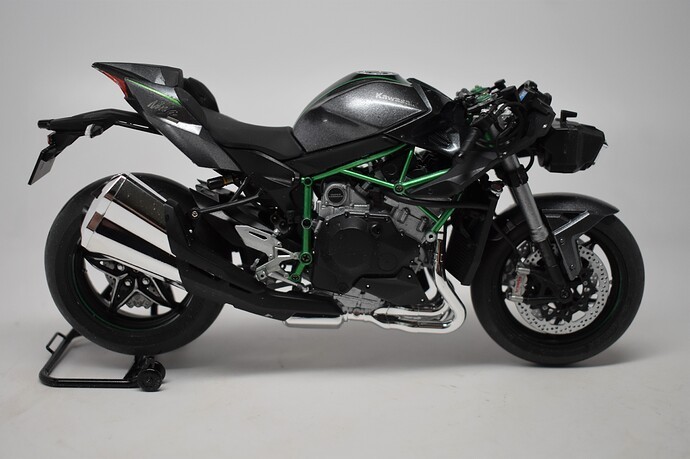
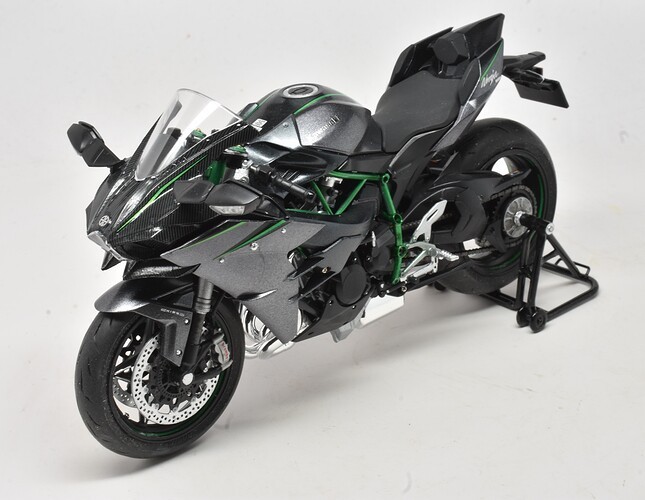
At this point, only the bodywork and mirrors are left. The top cowl is 100% carbon on the real bike, and Tamiya gives extensive decals (plus a spare block of carbon decal) to accomplish this. This was the only part of the build I disliked. Tamiya’s decals tend to be too thick, and hence don’t like to lie flat and fit over curves and bumps, even with extensive use of solvents AND heat. The end result wasn’t bad but if the decals were, say, traditional Cartograf decals, it would have been an easier (and more fun) task.
The overall result is quite impressive. I should note I managed to lose some of the small screws (gone are the days of when they gave you spares) and had to replace them with slightly oversized replacements, so their appearance is my fault, not Tamiya’s. The kit gives you a firm idea of how well the bike is engineered; so many parts are adjustable for the use of the (experienced) rider. In addition, the bike doesn’t need any aftermarket, and is priced very reasonably for what you get in the box.
How much did I like it? Well, the newest bike in the series, the Honda Fireblade, is in my living room being examined, and when I figure out which paint scheme to use, I’ll be starting on that as well. If you’ve never built a Tamiya bike kit, you truly owe yourself the pleasure. Just like the real bike, the kit is a great example of high-performance engineering.
And by the way, if this bike isn’t fast enough for you….Kawasaki makes a special version of this bike that is sold only for track use. Sitting down? 326 horsepower, same weight. I cannot even imagine it.
