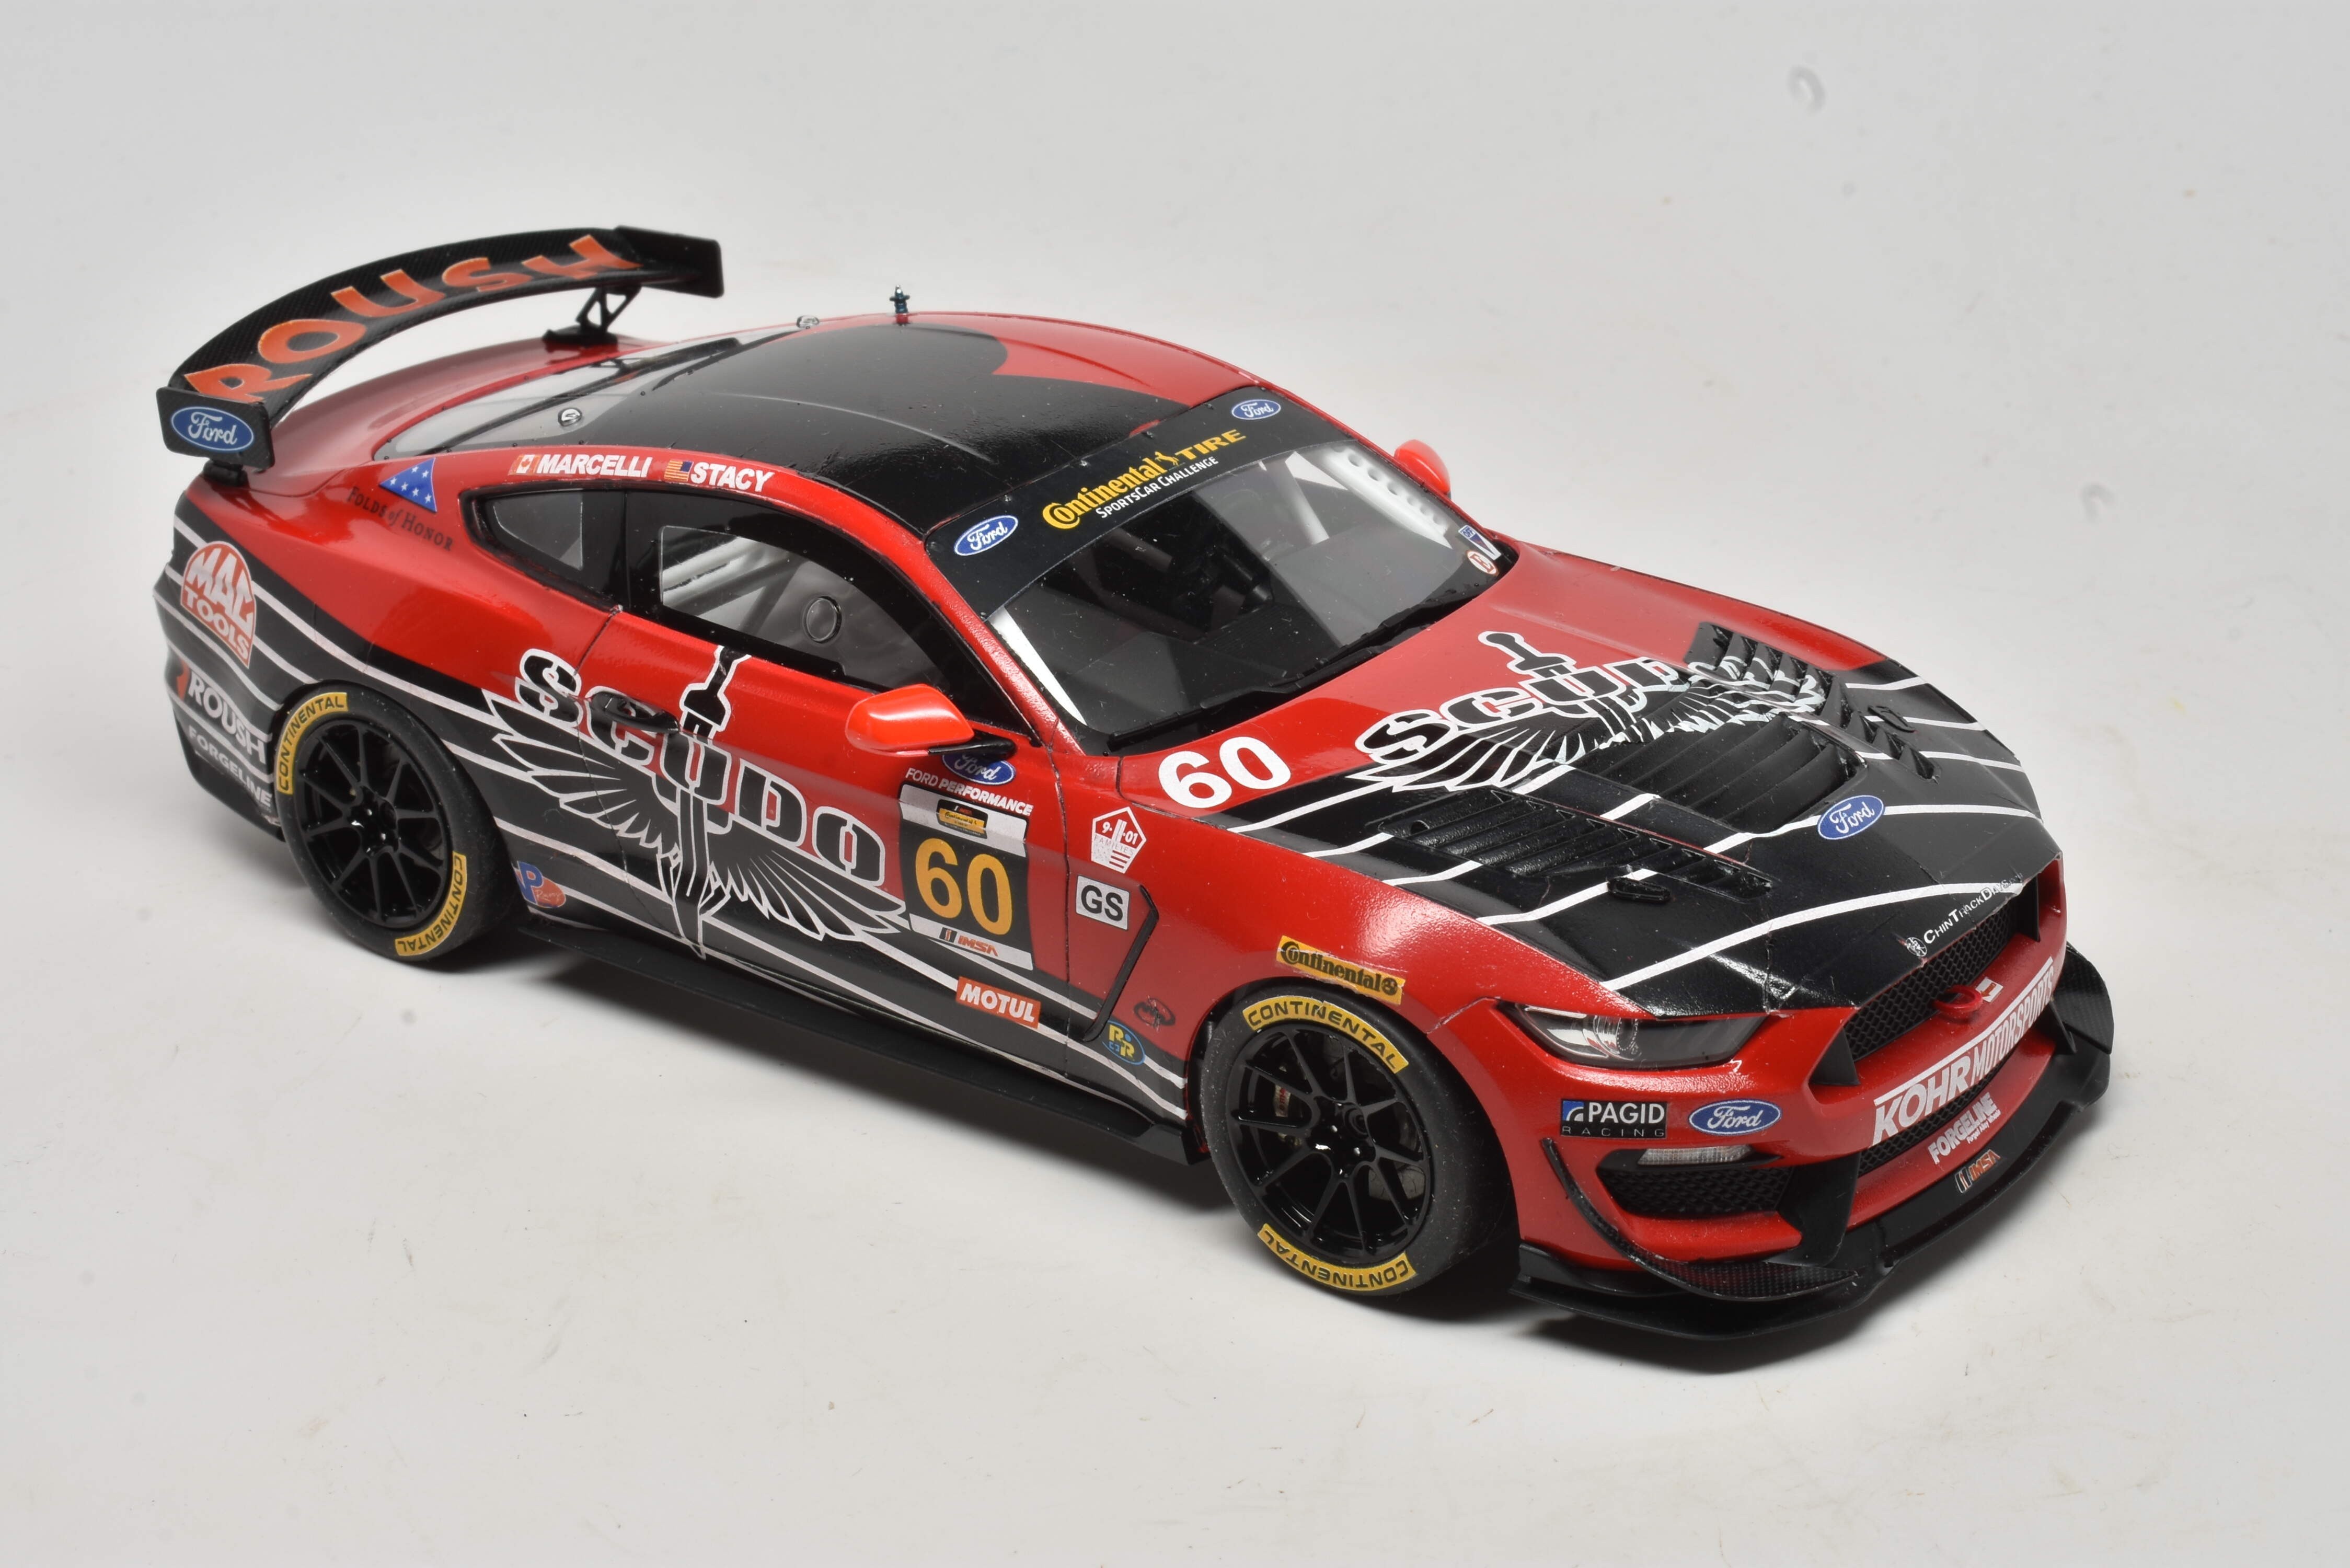


I was thrilled when Tamiya announced their kit of the new Ford Mustang in GT4 racing trim, and I bought the kit when it was first released. Upon inspection I was quite impressed with the curb side kit, and would have started it then were it not for the kit decals. There was nothing wrong with them, per se, but they were quite boring to look at. I wanted something different.
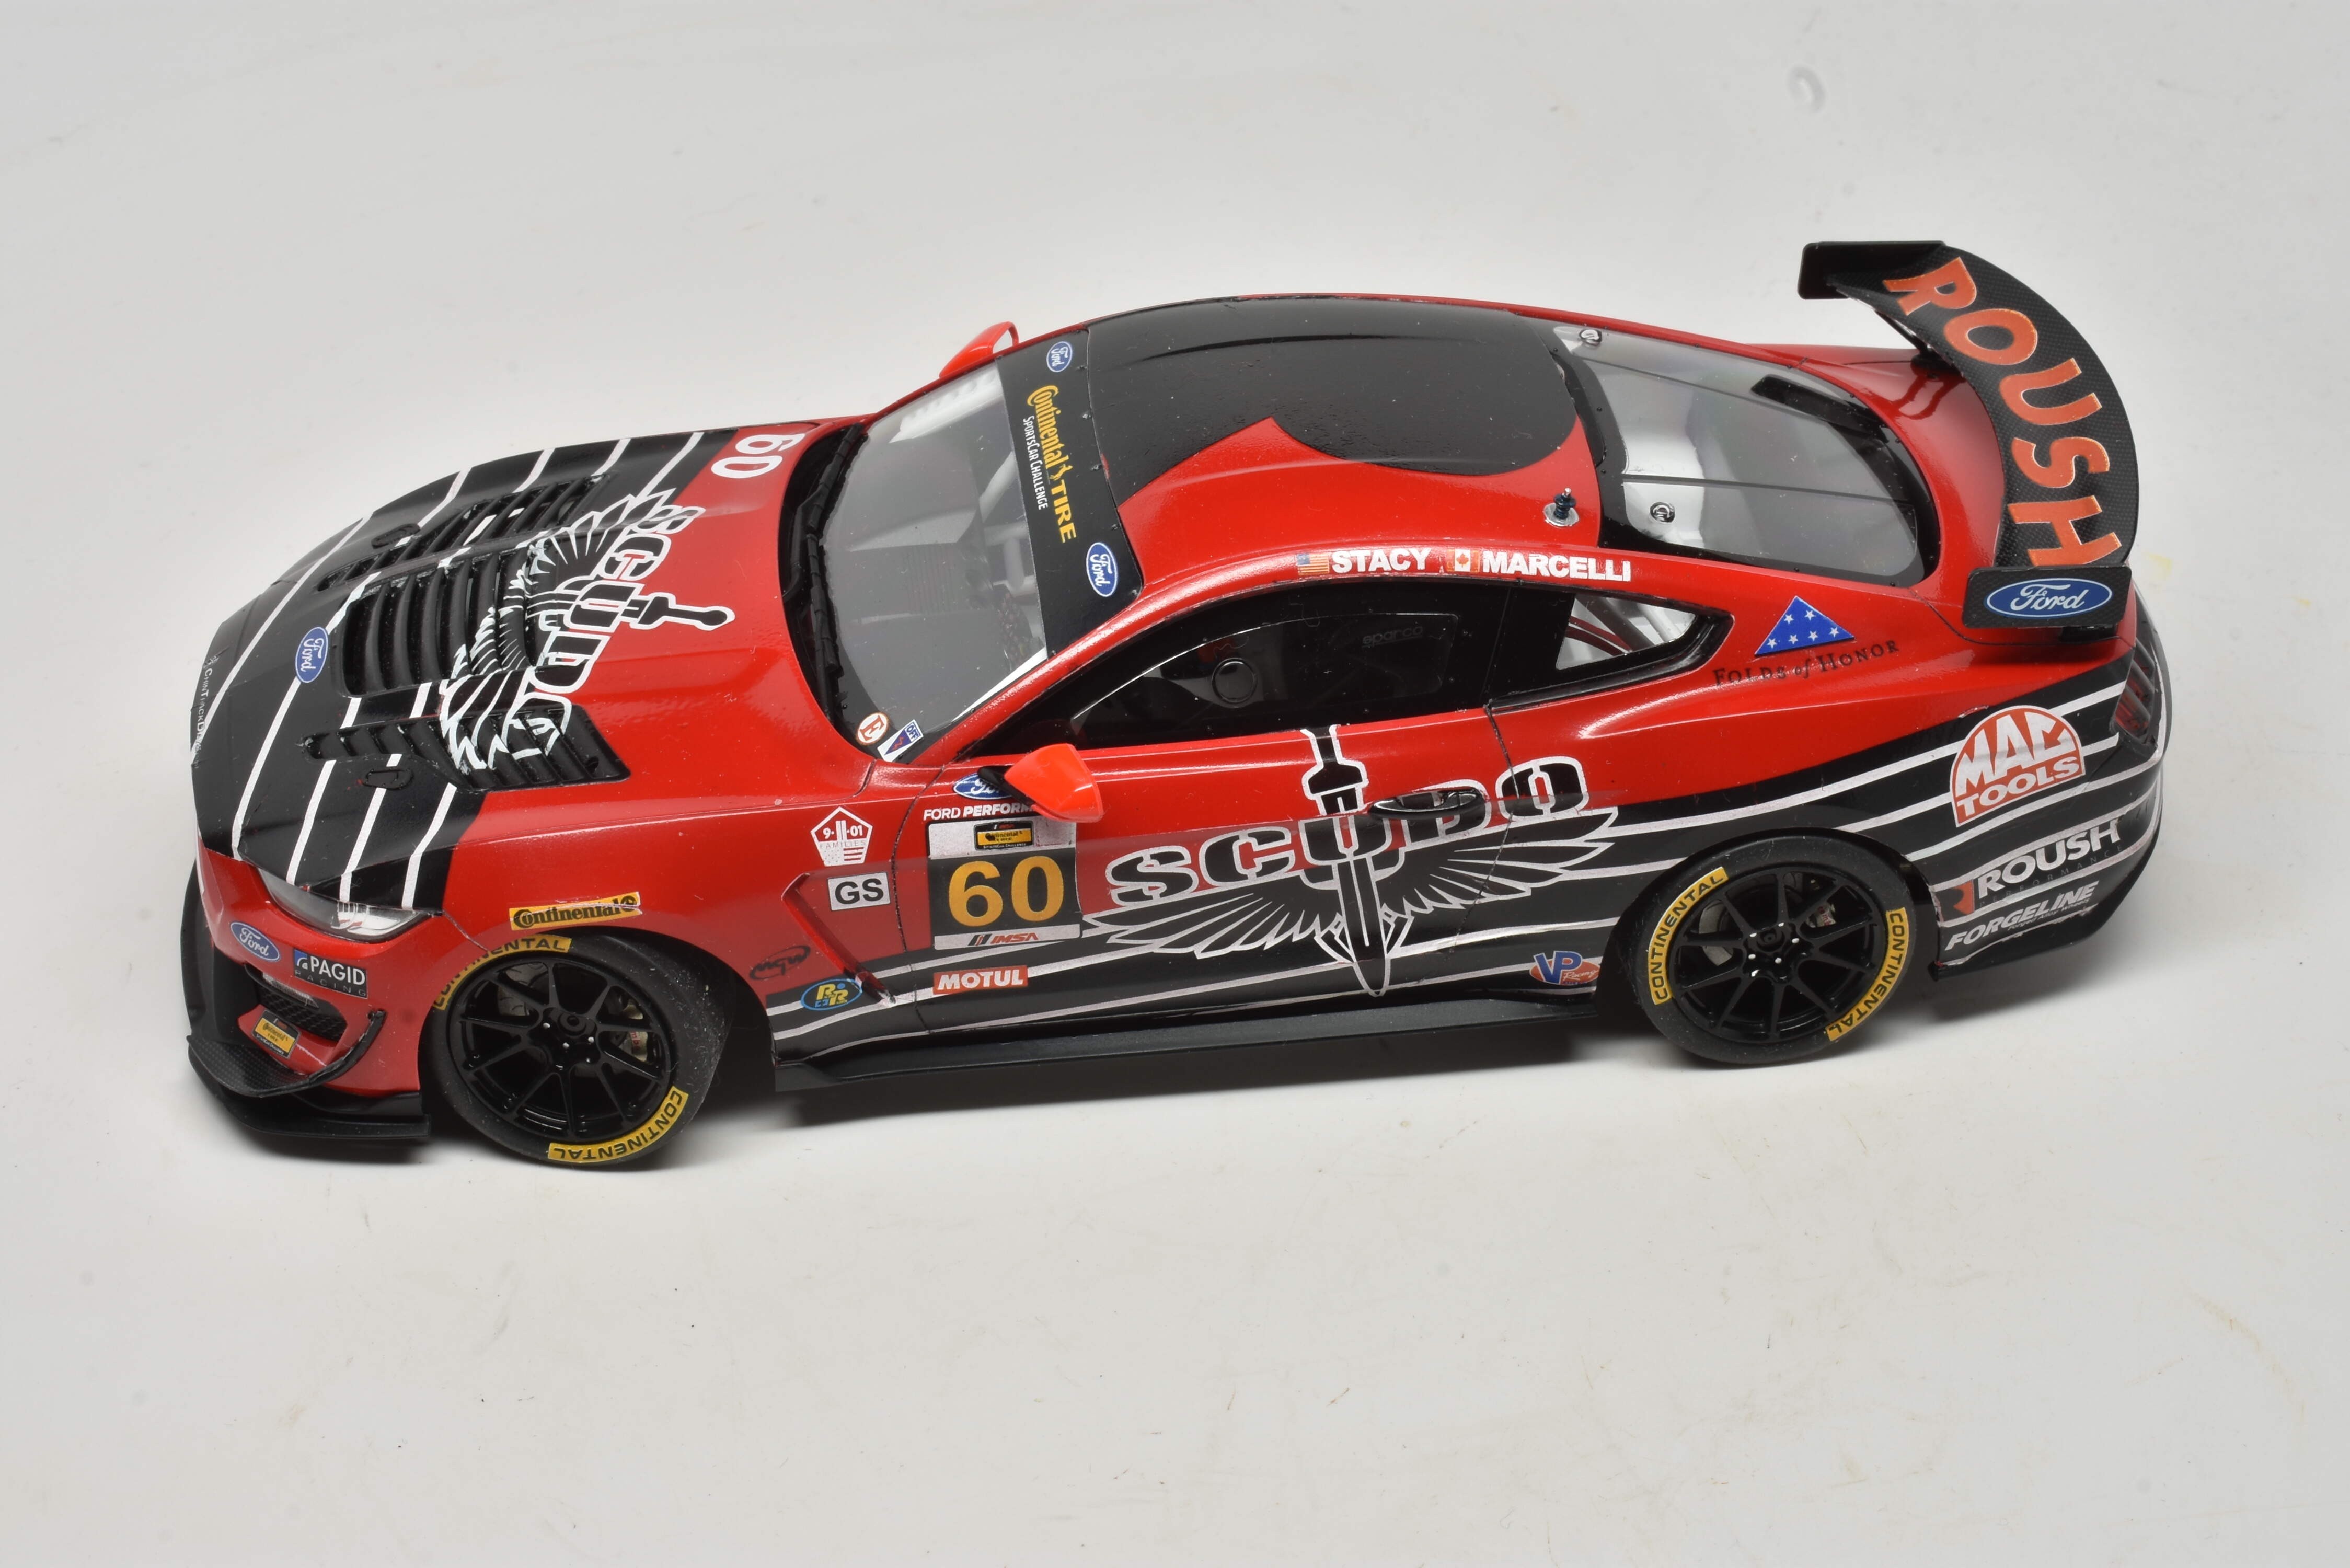
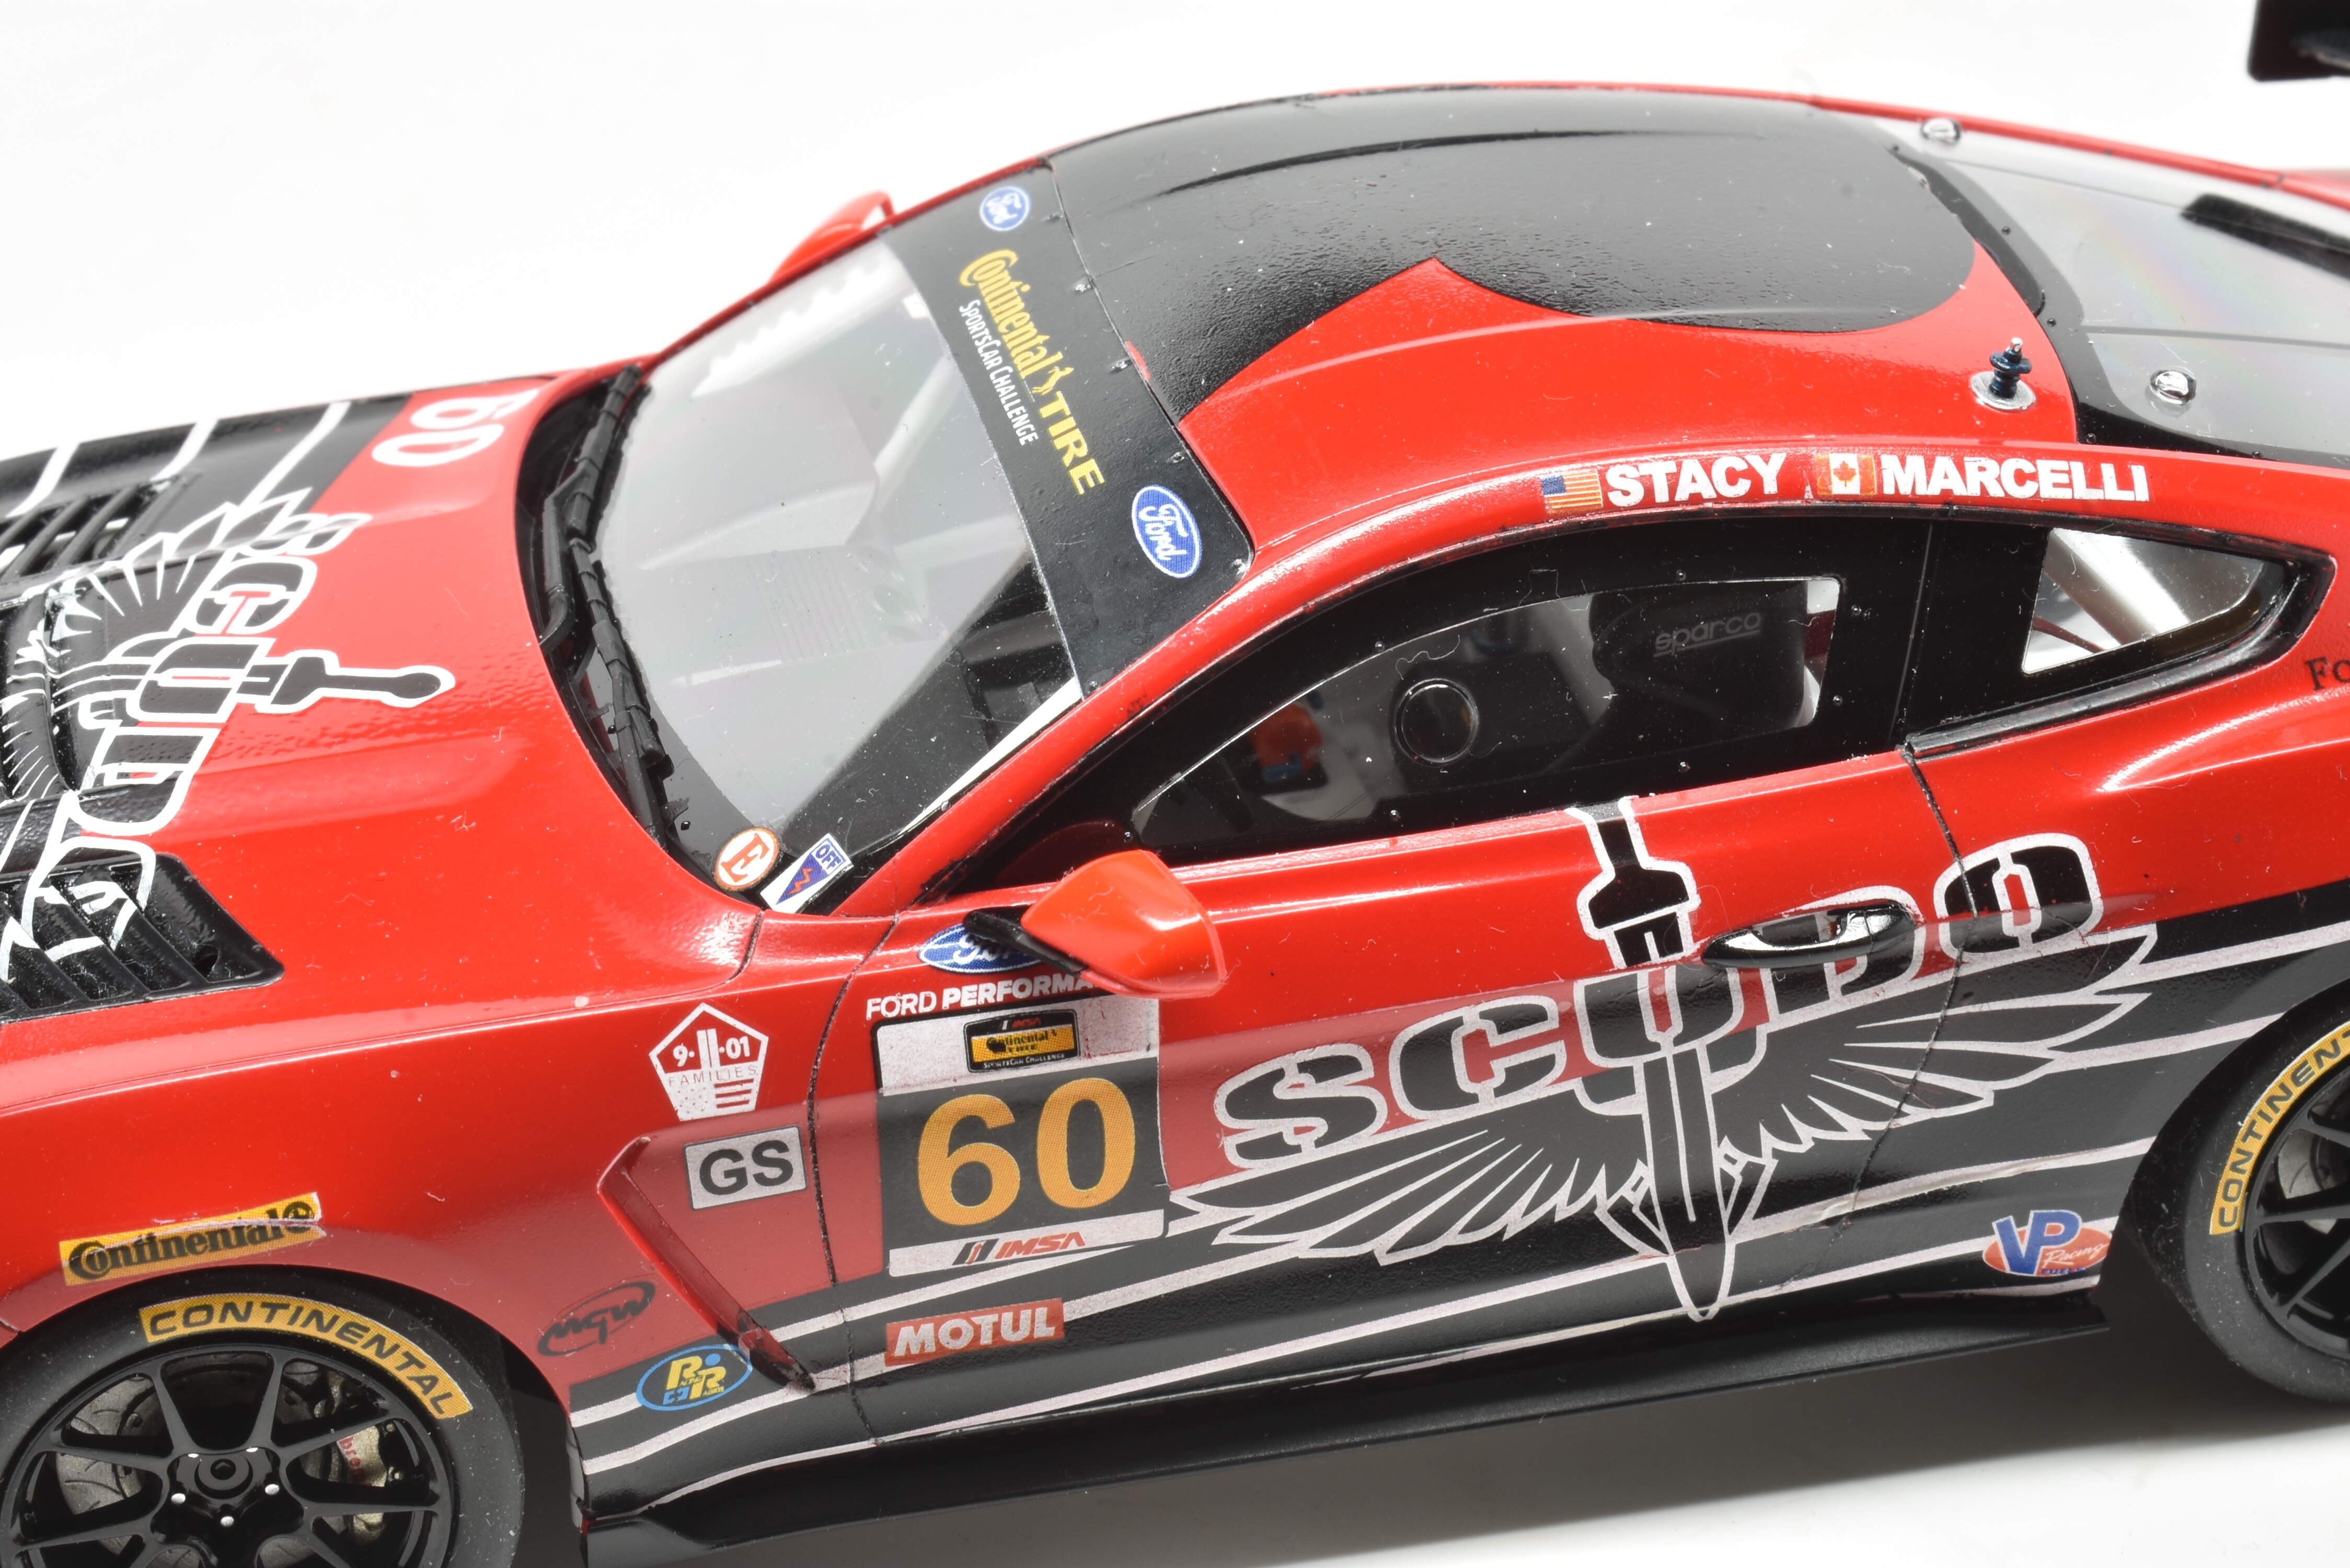
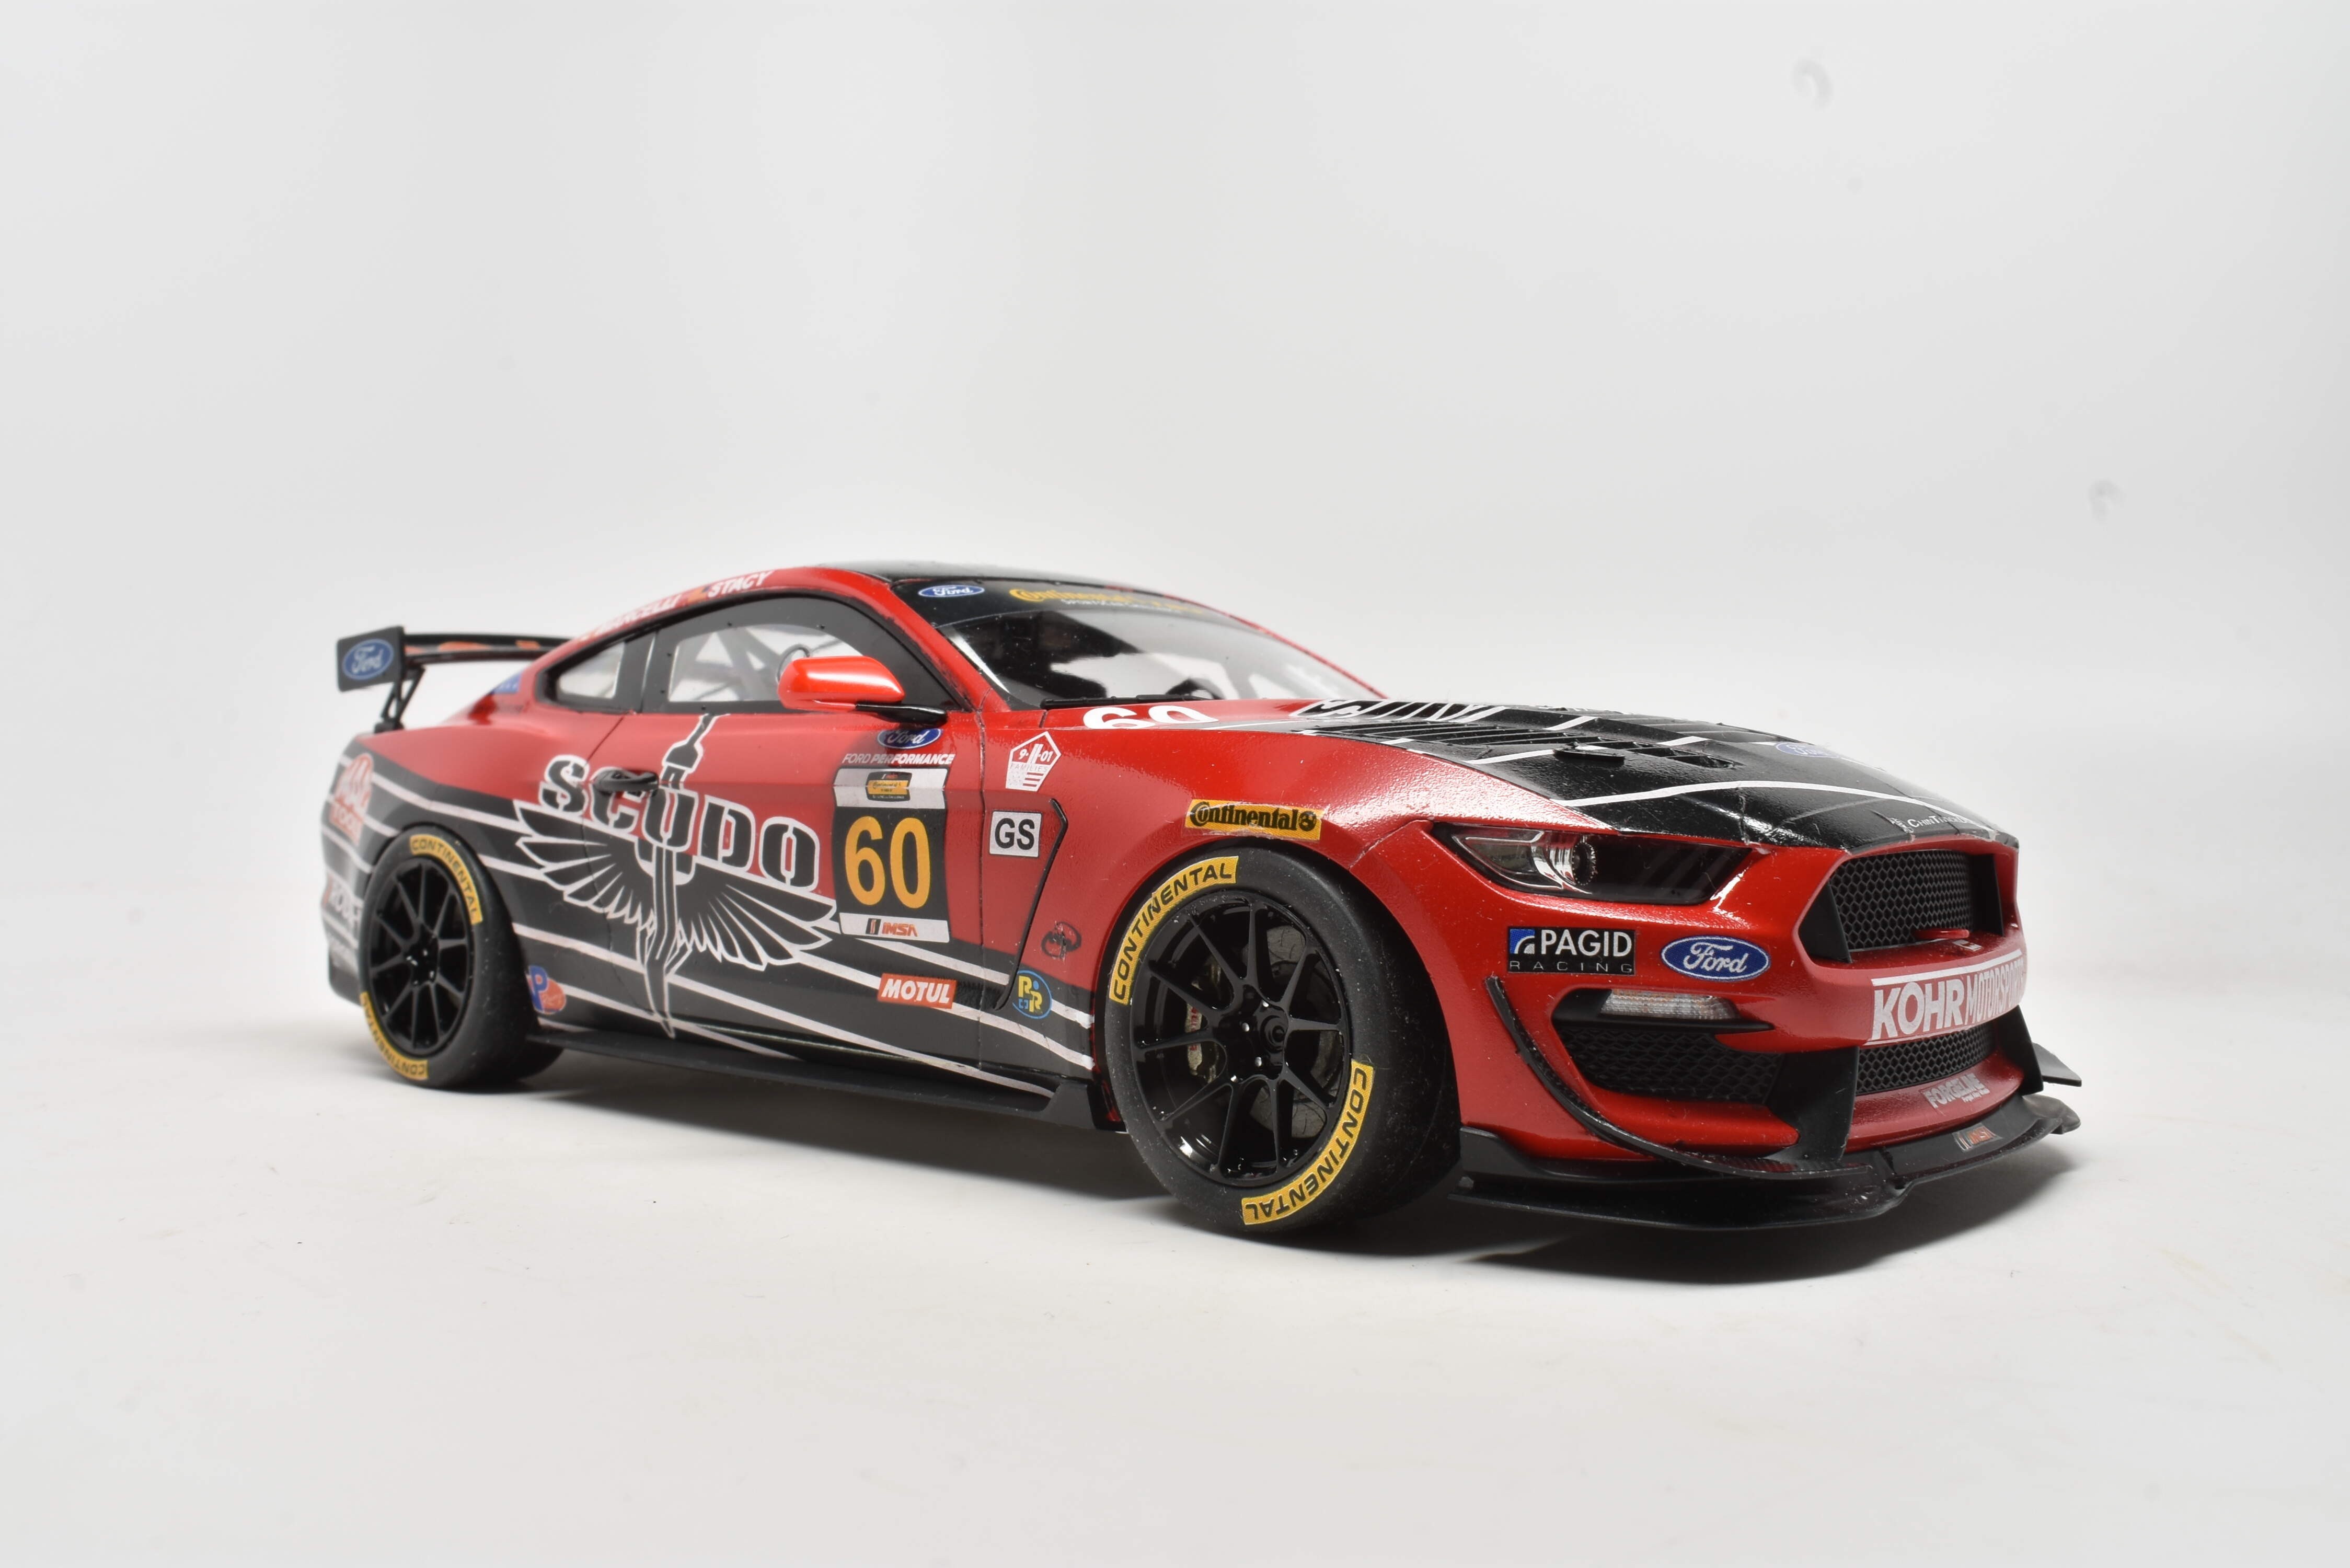
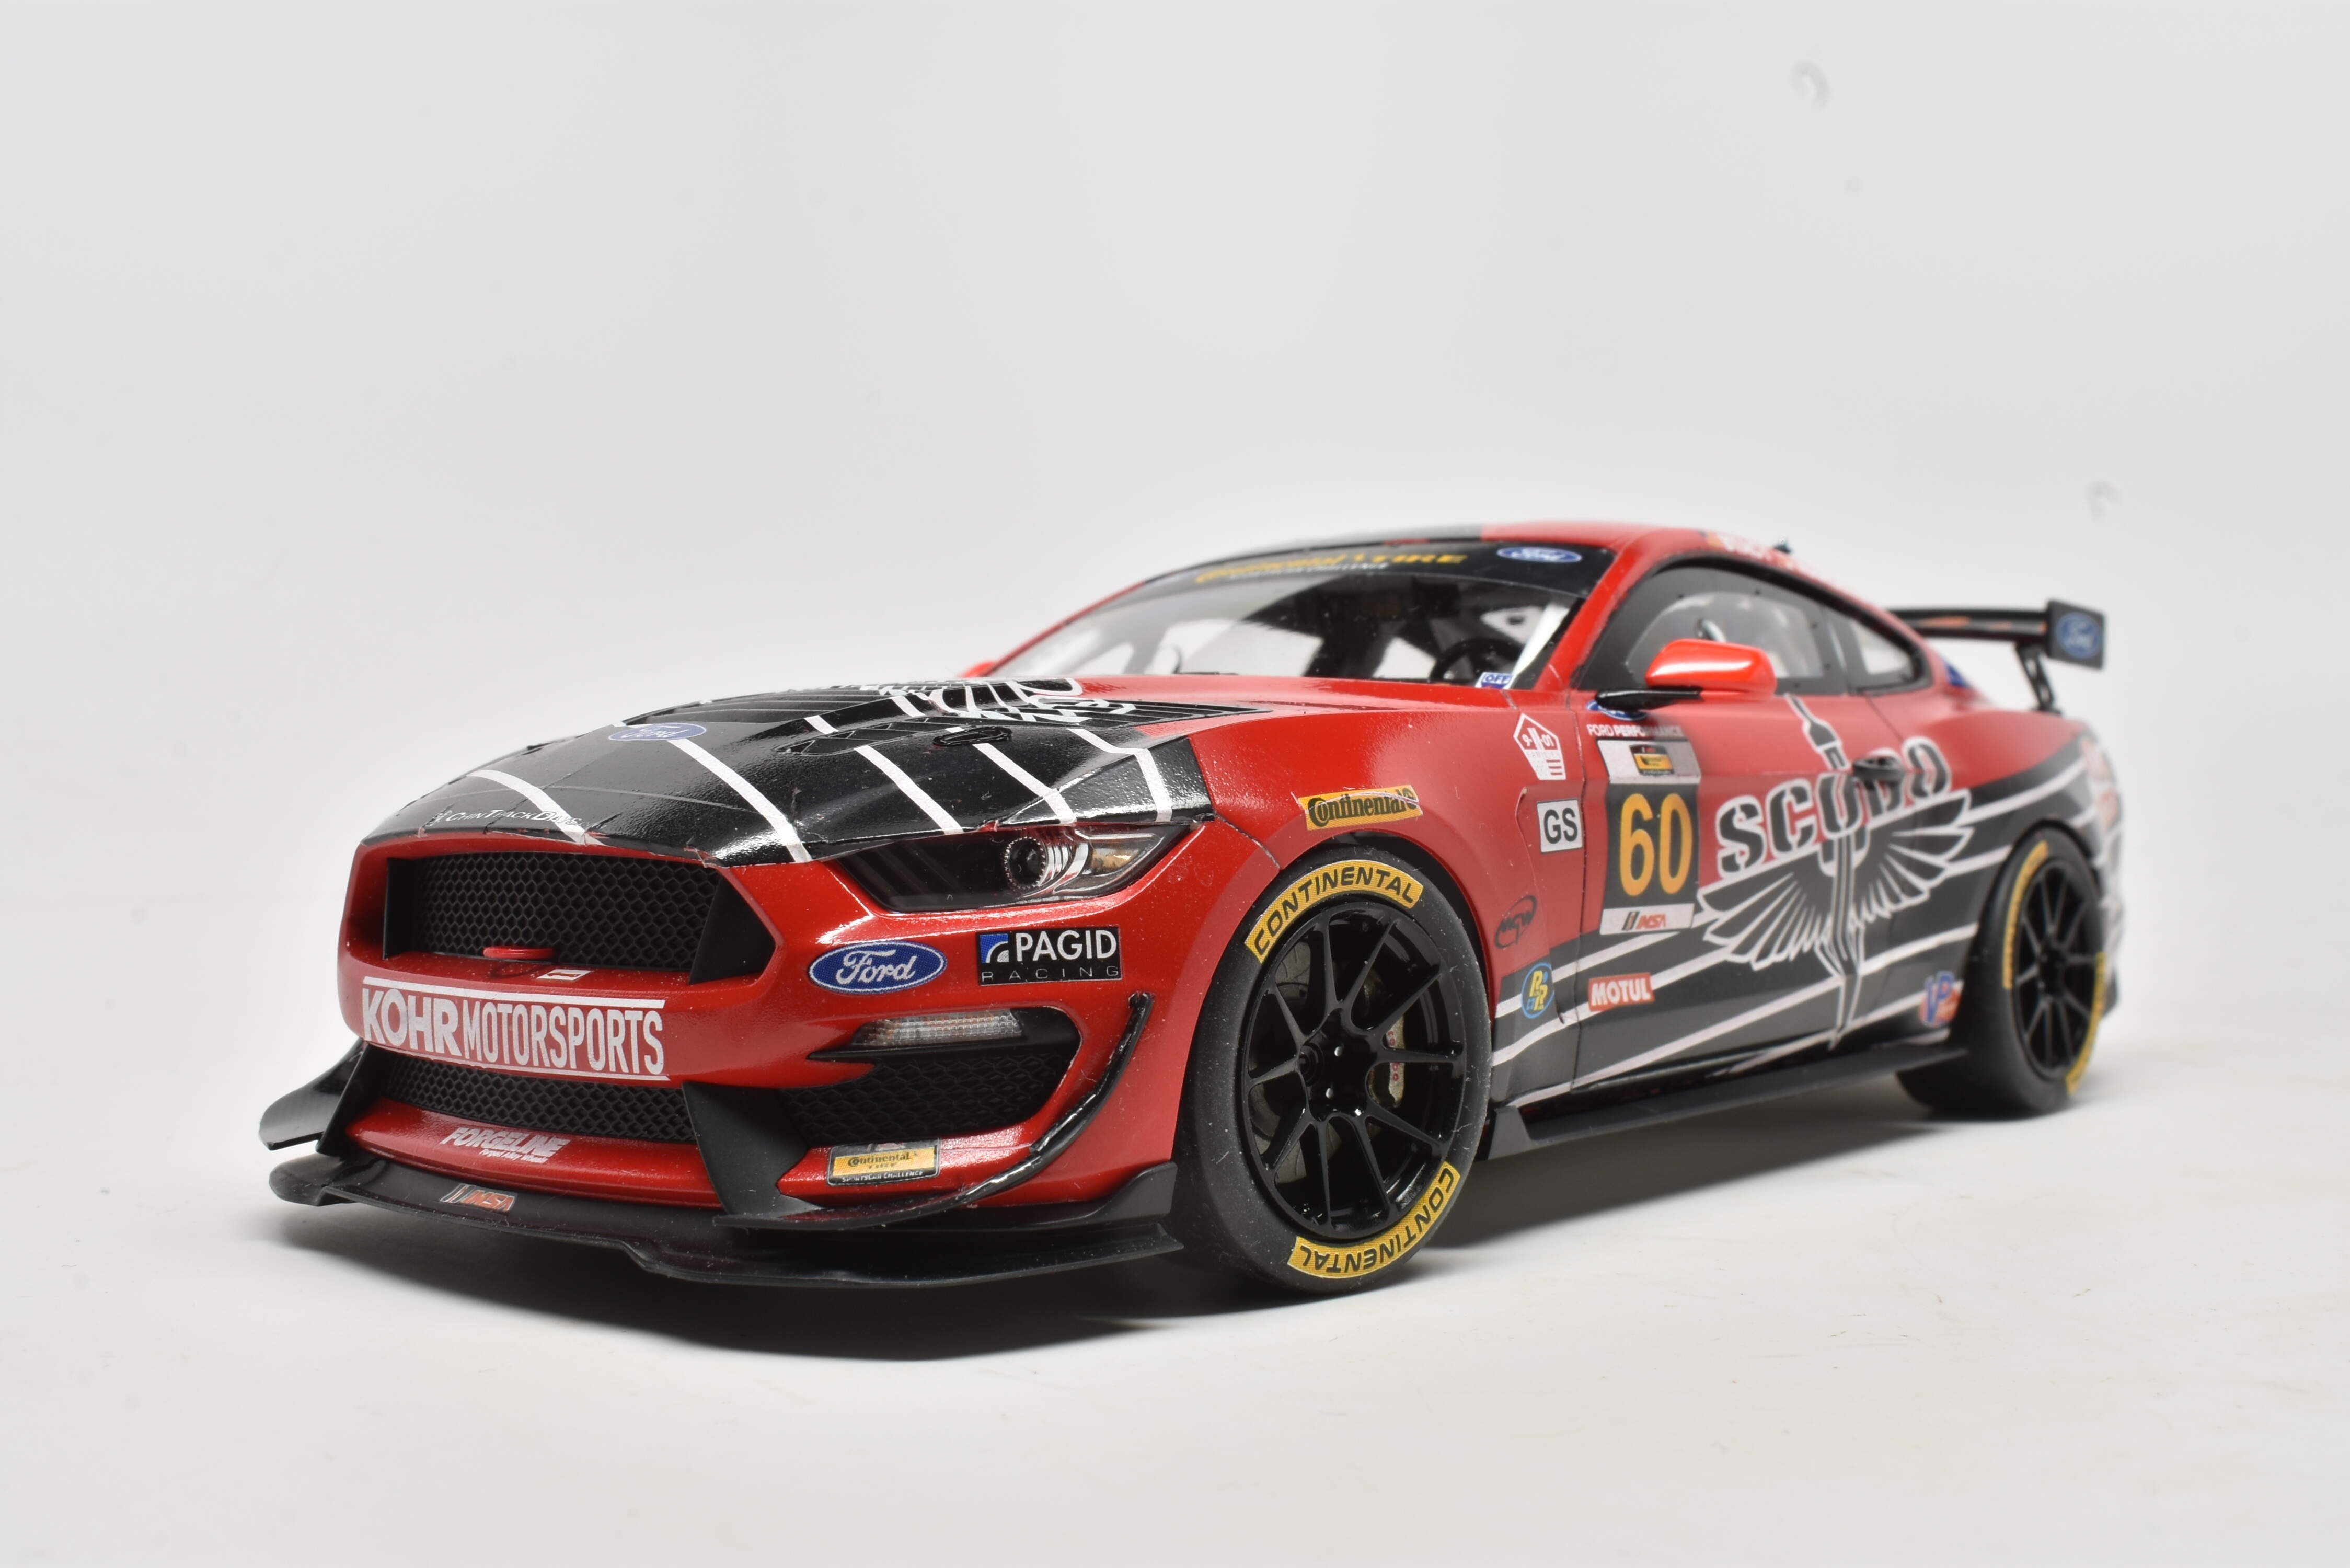
After some time looking around the web for options, I saw the firm Indycals mentioned in a post. When I got to their website I was delighted to see that they had a number of interesting schemes for the pony car. After some research, I decided on the bold red and black scheme for the Scudo/Roush/Kohr Motorsports car. Scudo is a manufacturer of customizable aluminum wallets for men.
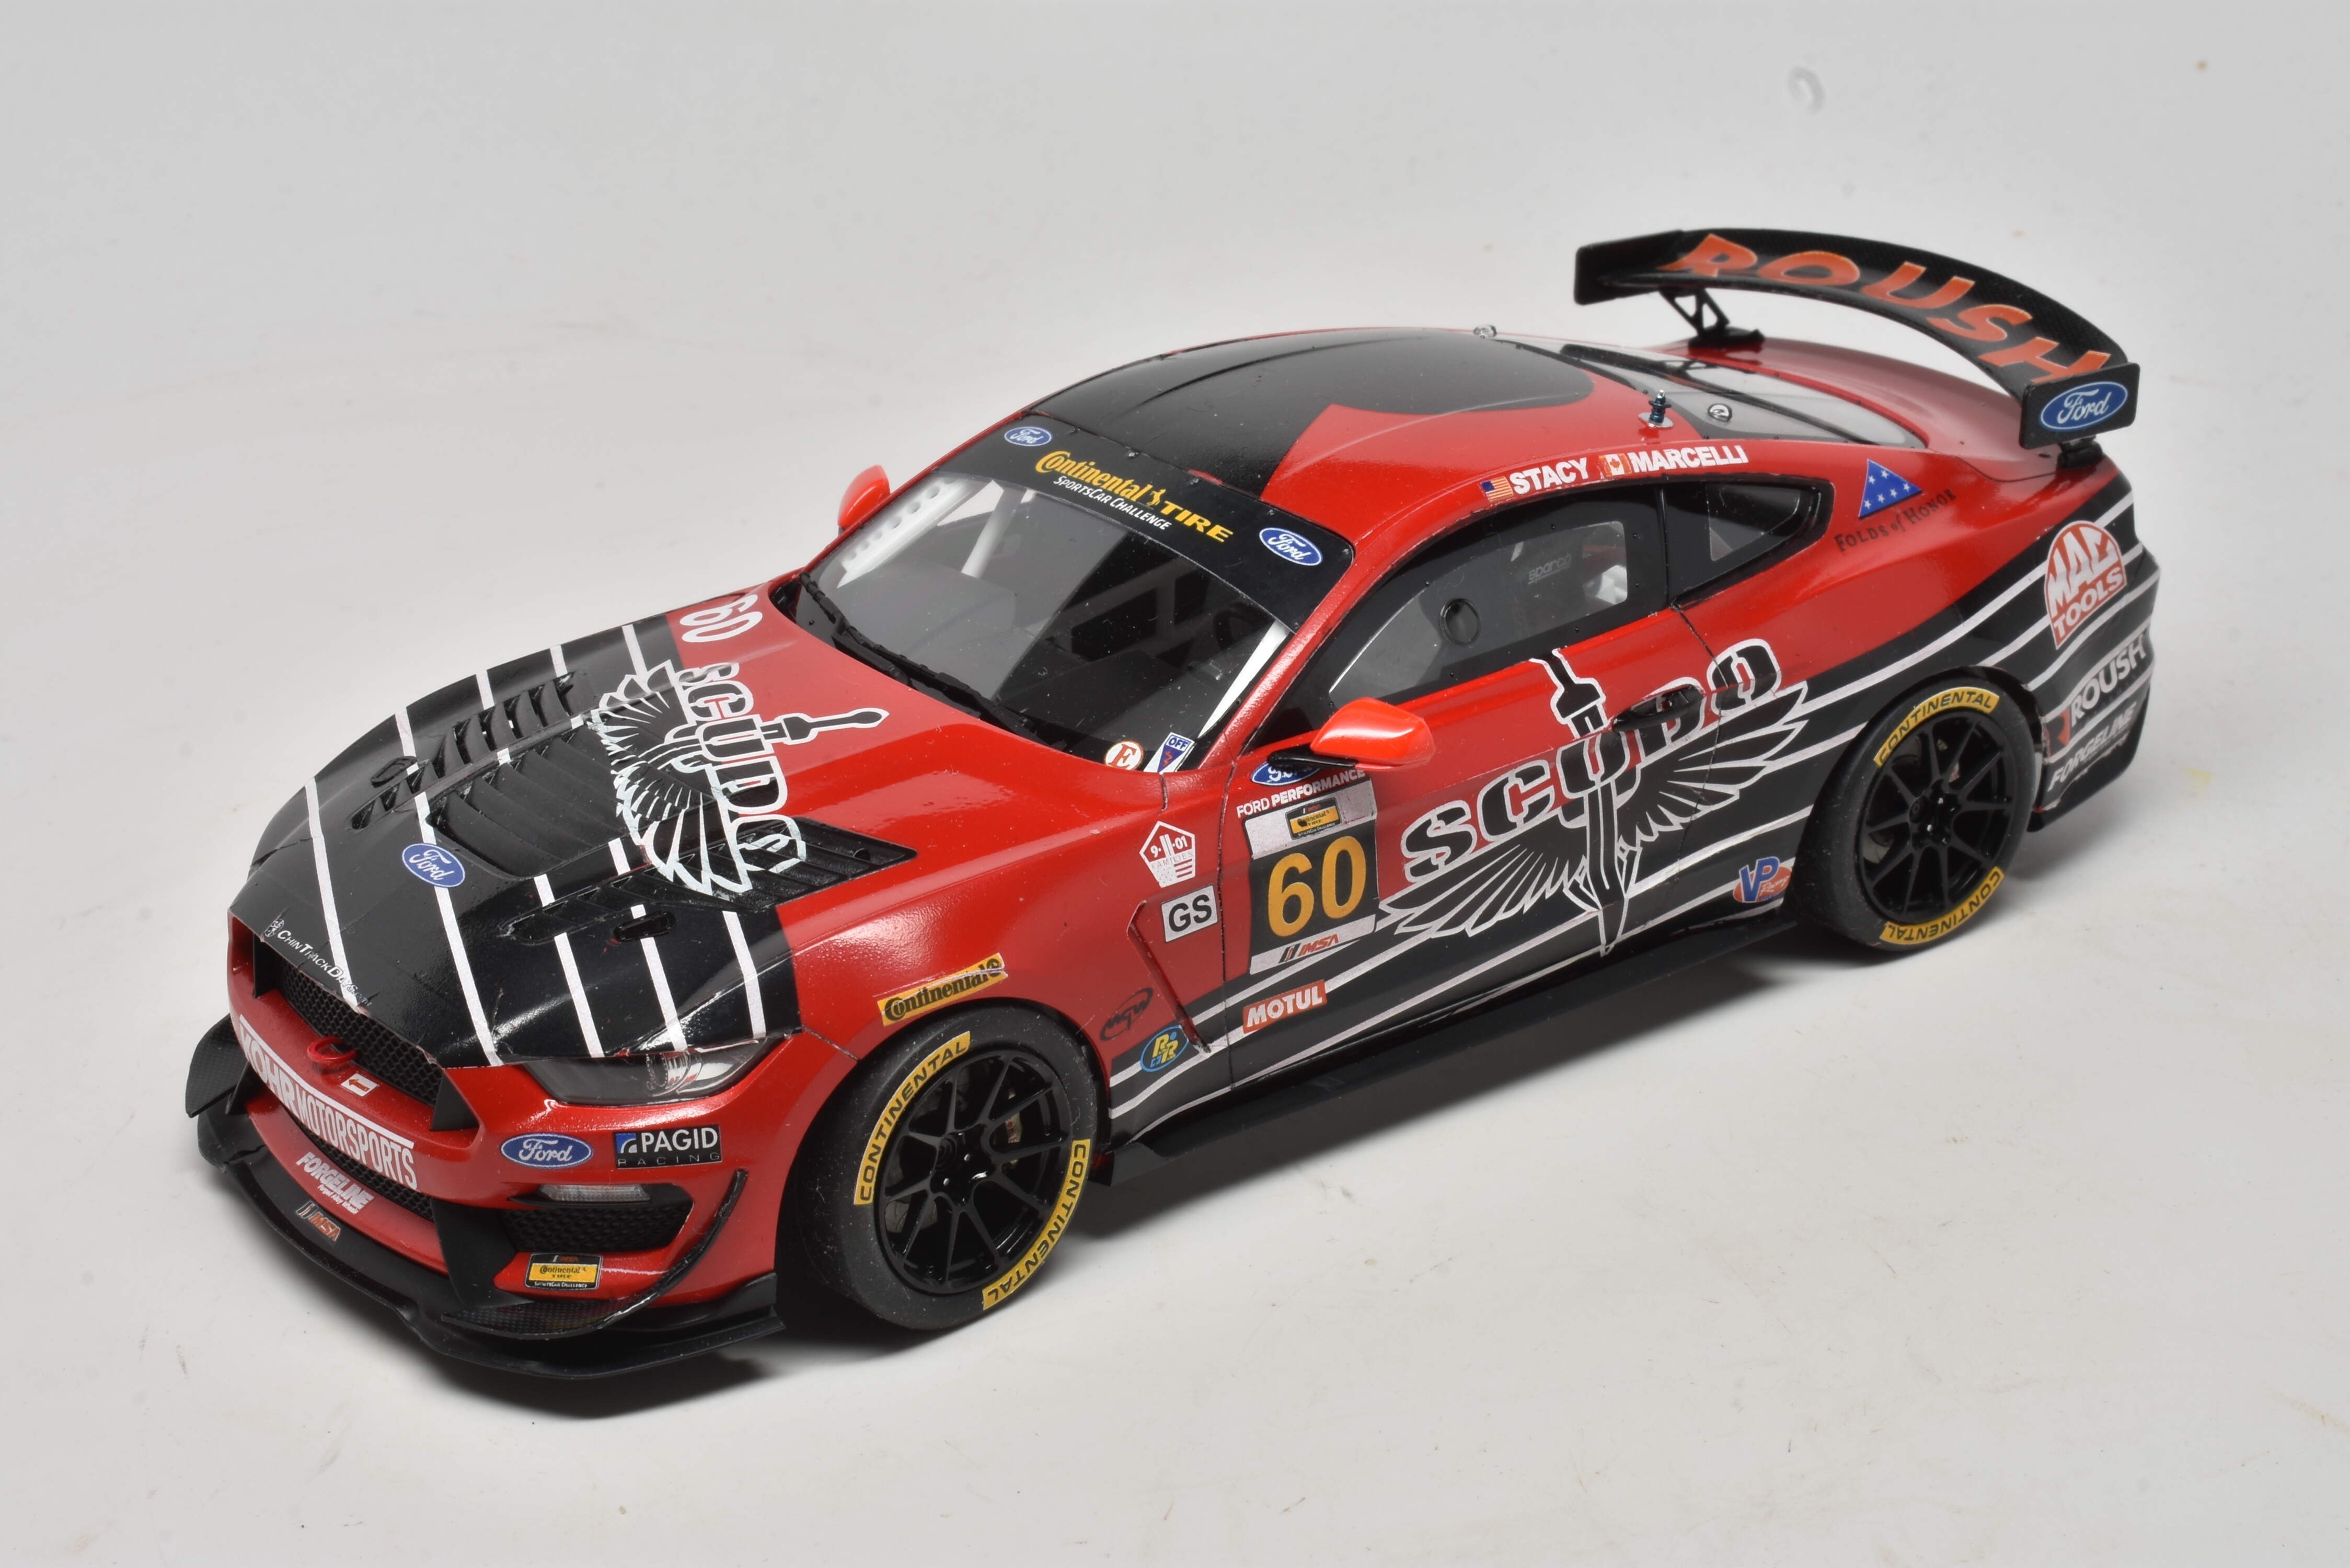
When I got the decals I realized I needed a bright red paint for the vehicle; all the black areas would be decals. Luckily, I had purchased some Victory Red(Corvette color) from MCW finishes for a commission build, and had more than enough left over to paint the Mustang. After some minor body prep to eliminate some fine mold parting lines, I primed with Tamiya pink primer (which makes red paint jobs MUCH easier) and then two coats of the MCW paint. I topped that with a coat of MCW clear to provide a smooth surface for the decals. (I should mention the Indycal decals for the tires worked very well, with a mild application of solvent and heat.)
This body was my first try with Indycals and was a bit of a learning experience. The decals come on a continuous sheet, meaning each image must be cut out before application. Rule one with Indycals: if you want to cut the decal (like a dart on a curve), do it before you wet the decal, or after it’s completely dry! These decals will NOT cut when wet, even with a brand new #11 blade; they stretch like Saran Wrap! If you look close you can see a few mistakesI made there. The decals respond well to solvents and heat, and are VERY accurate.
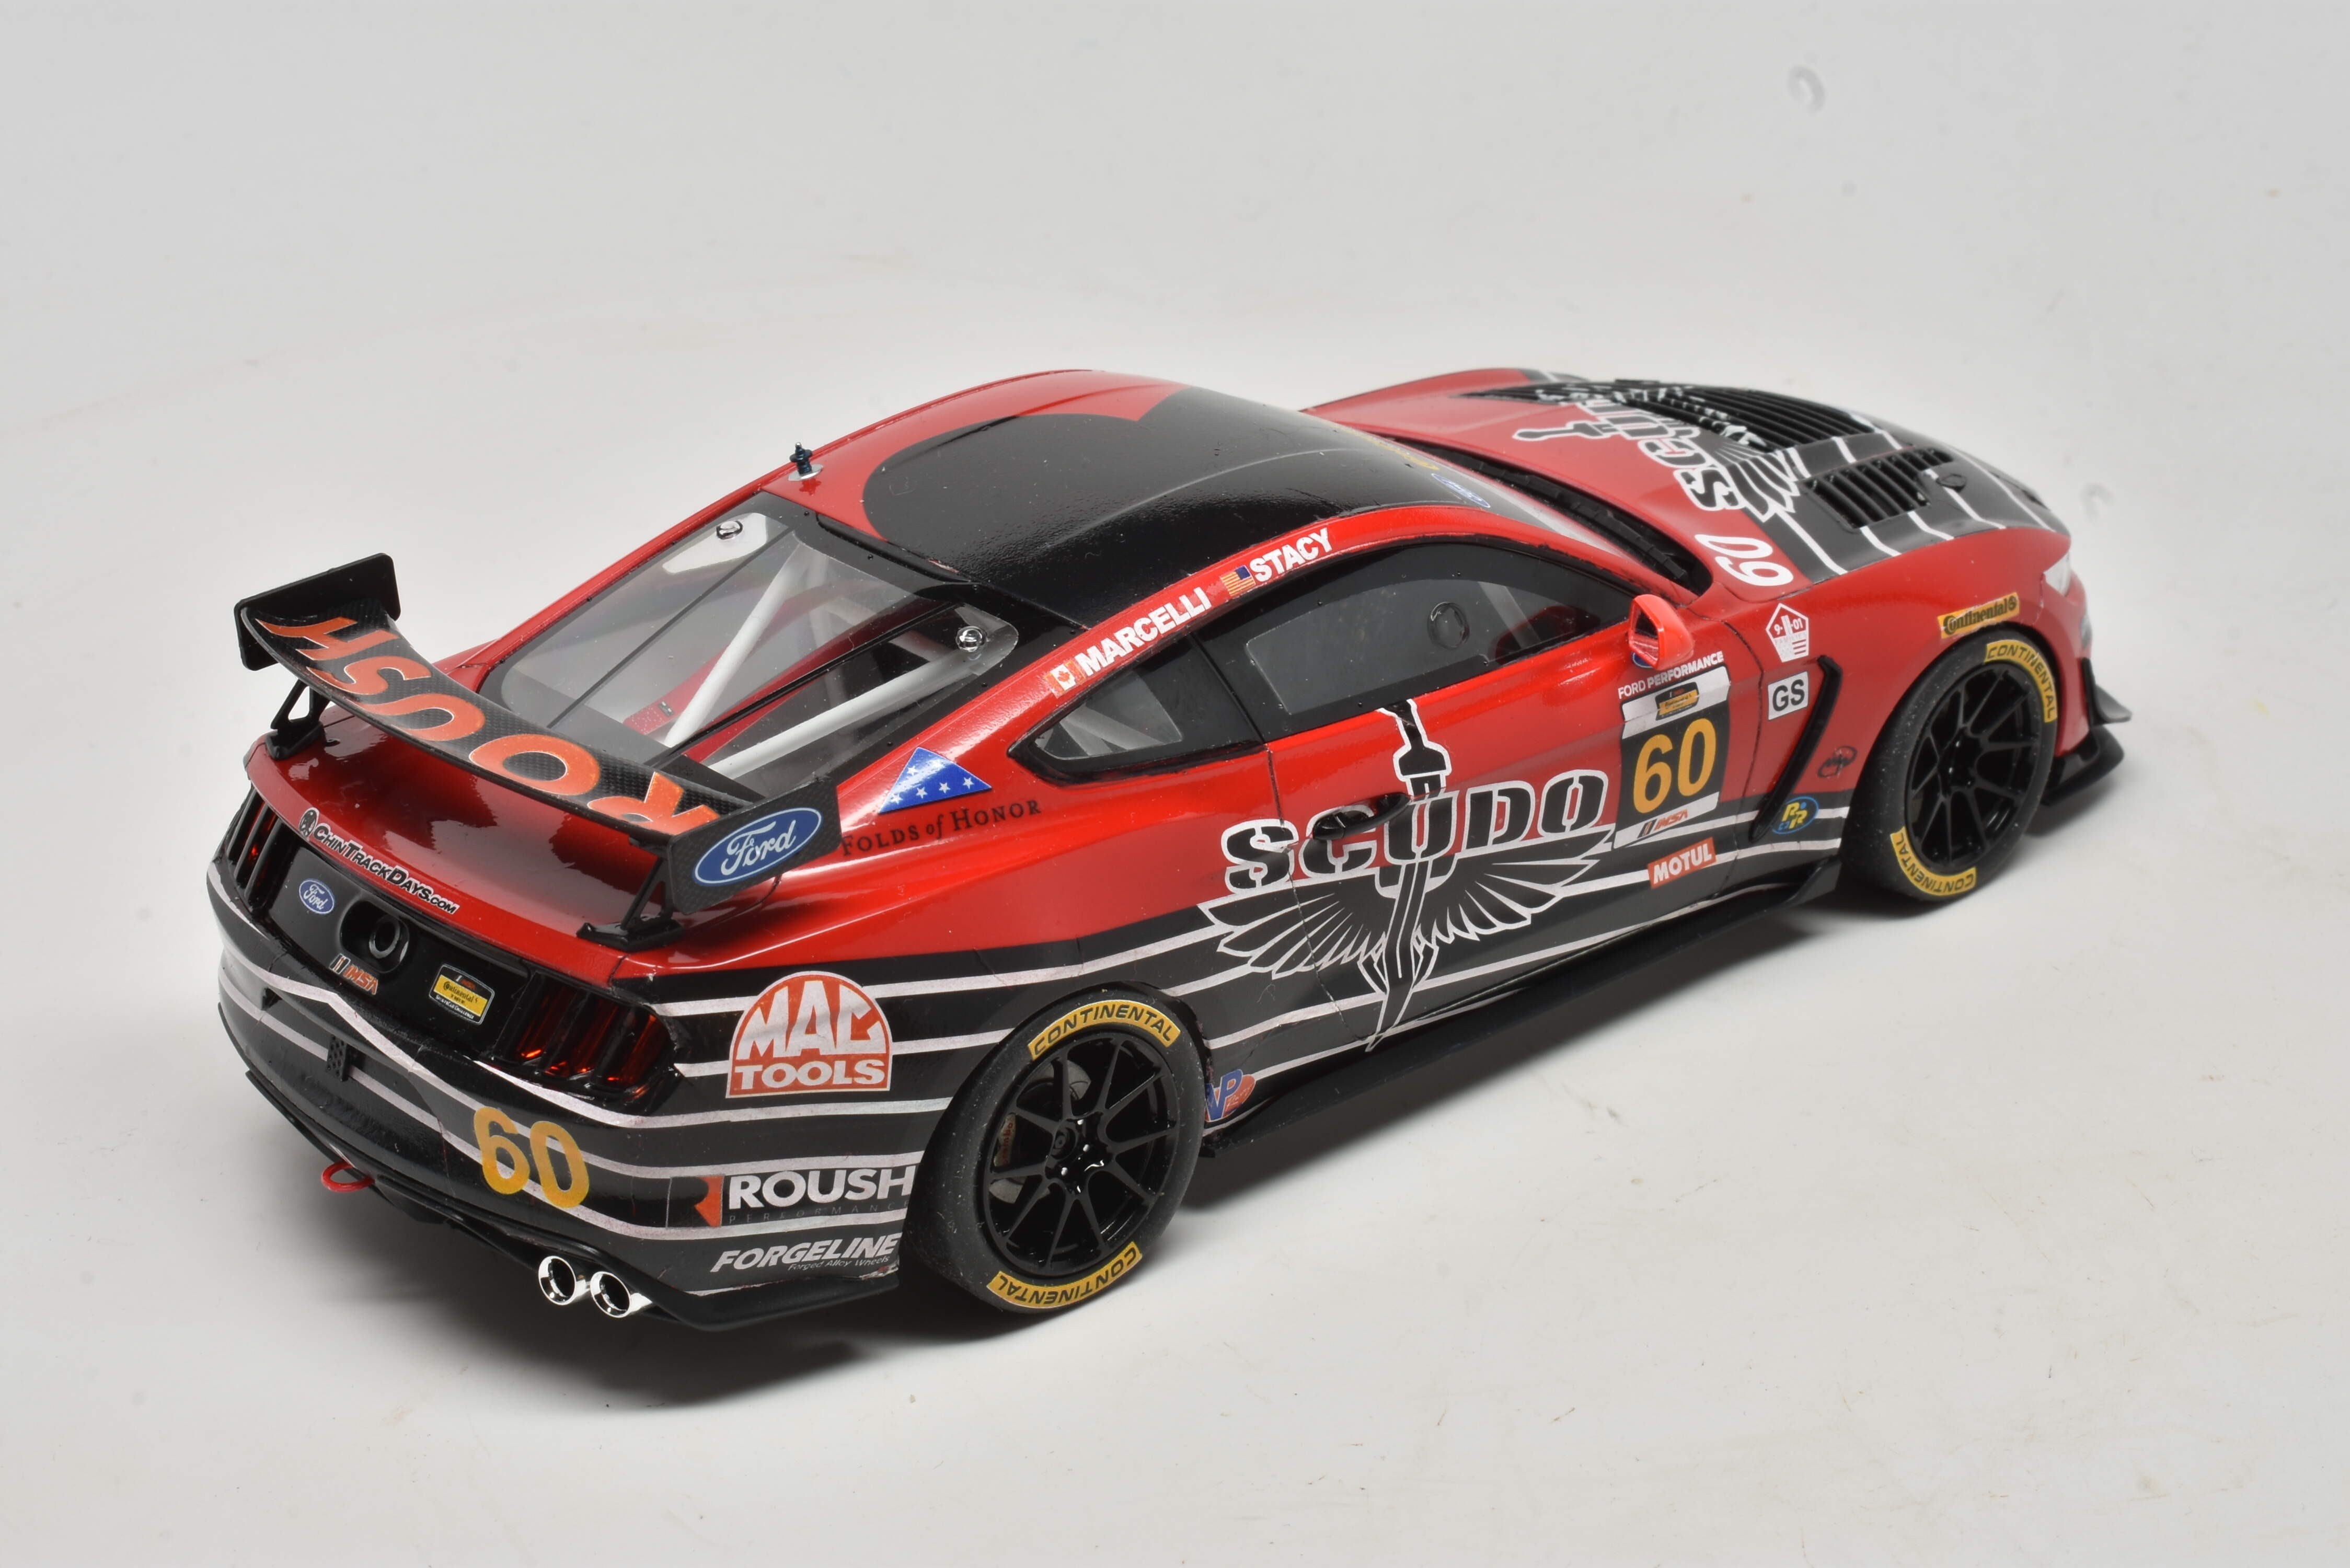
I overcoated the body with Zero Diamond 2 part clear, and had an issue with some orange peel; the paint hardened a little too quickly. When dry I used several applications of Mr. Hobby coarse rubbing compound to get things looking spiffy; the decals were not affected by the clear, or the rubbing compound.
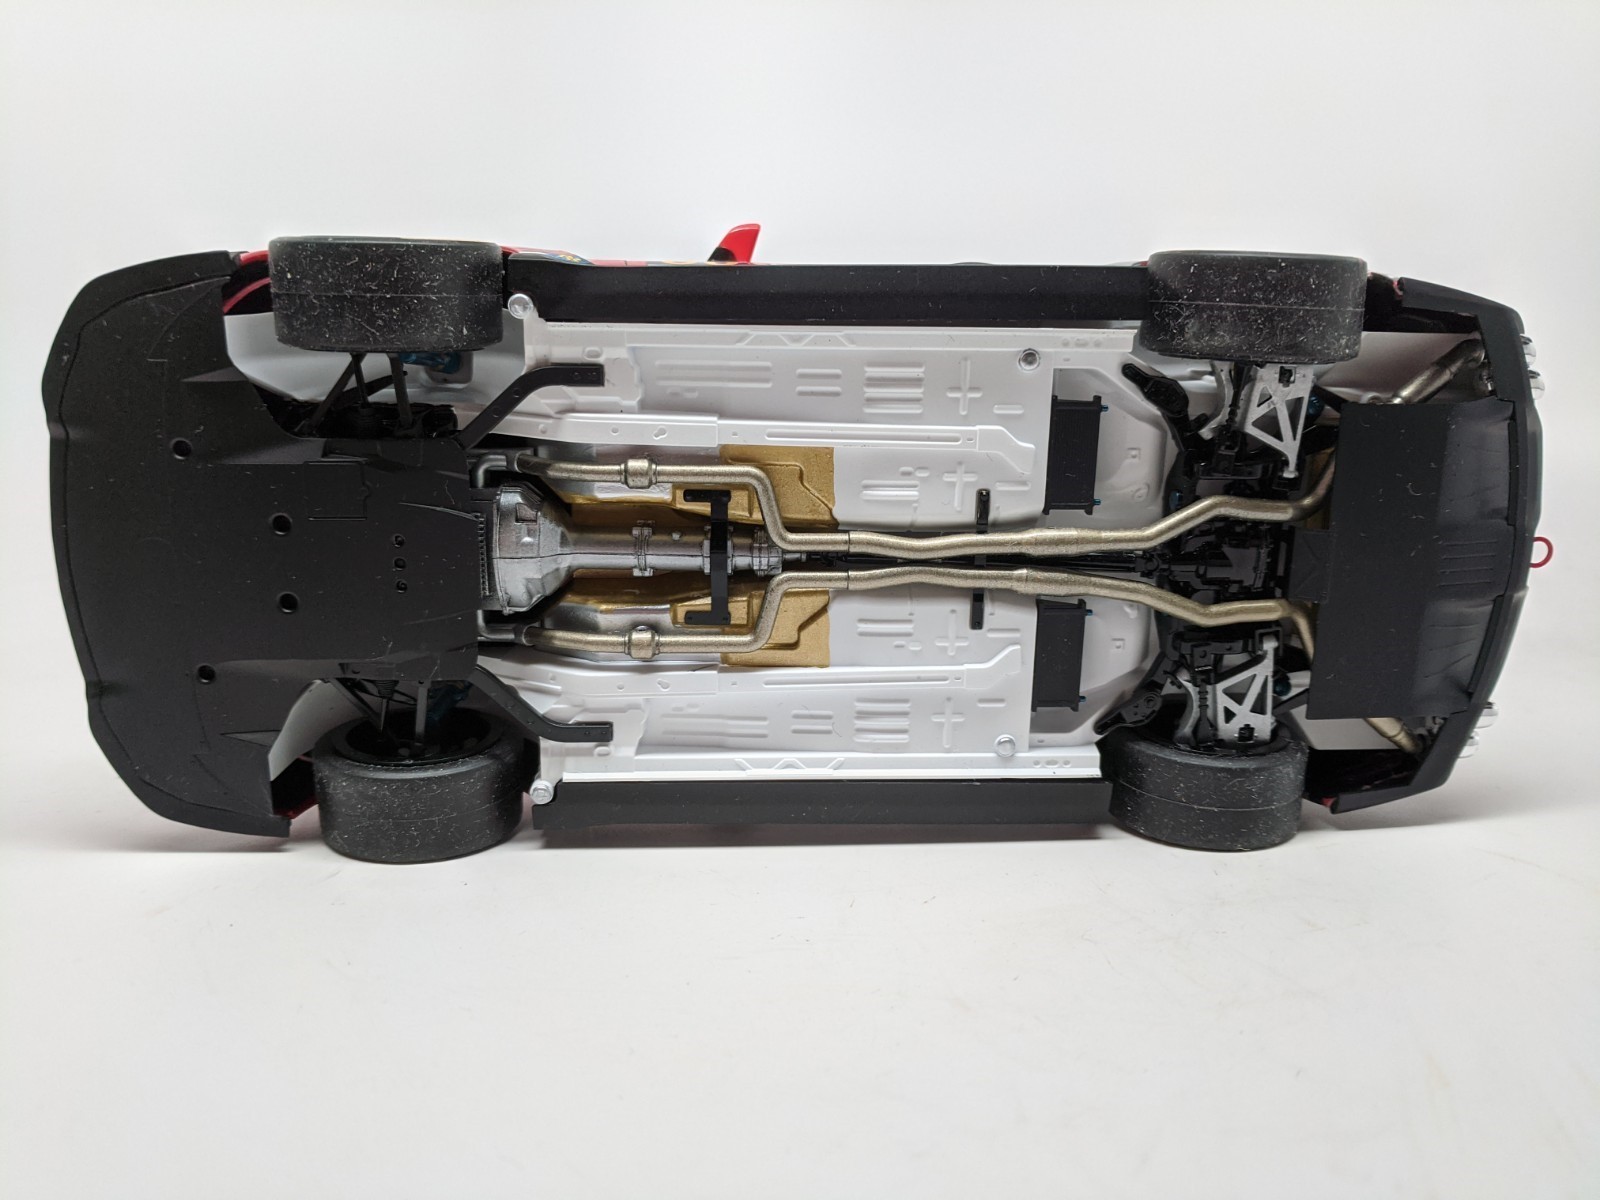
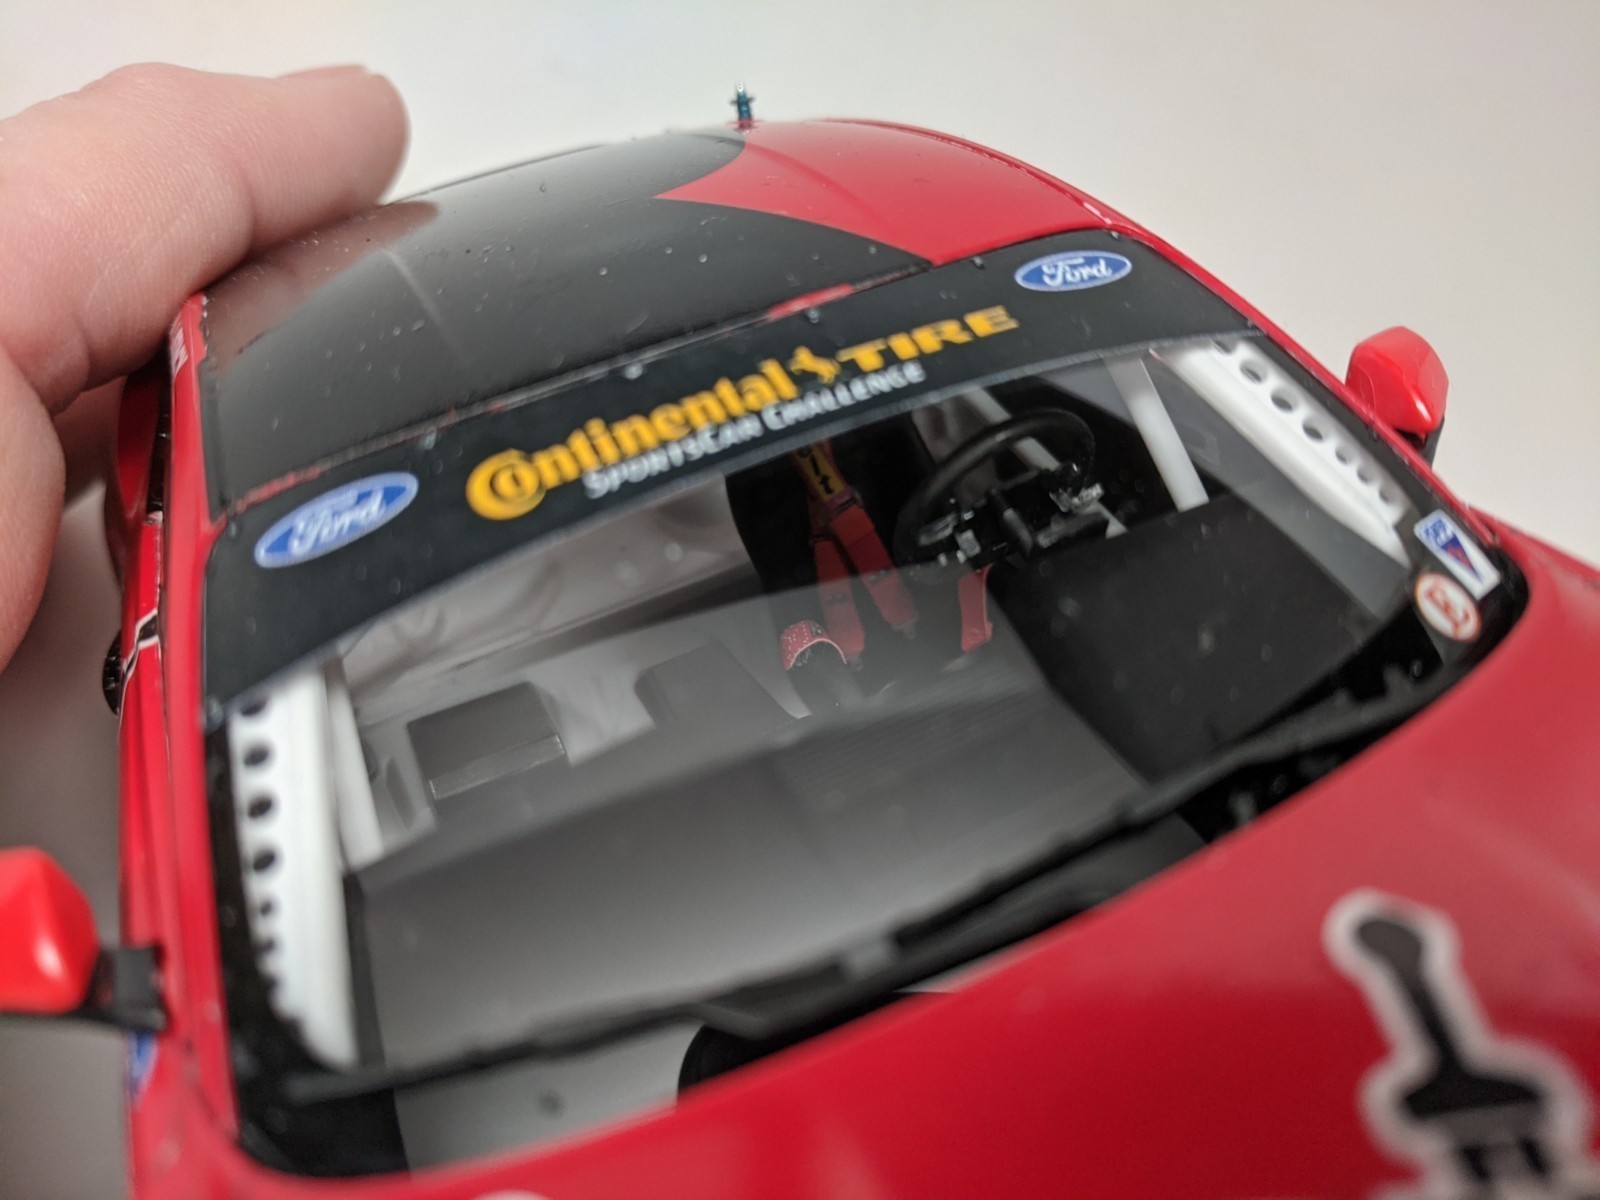
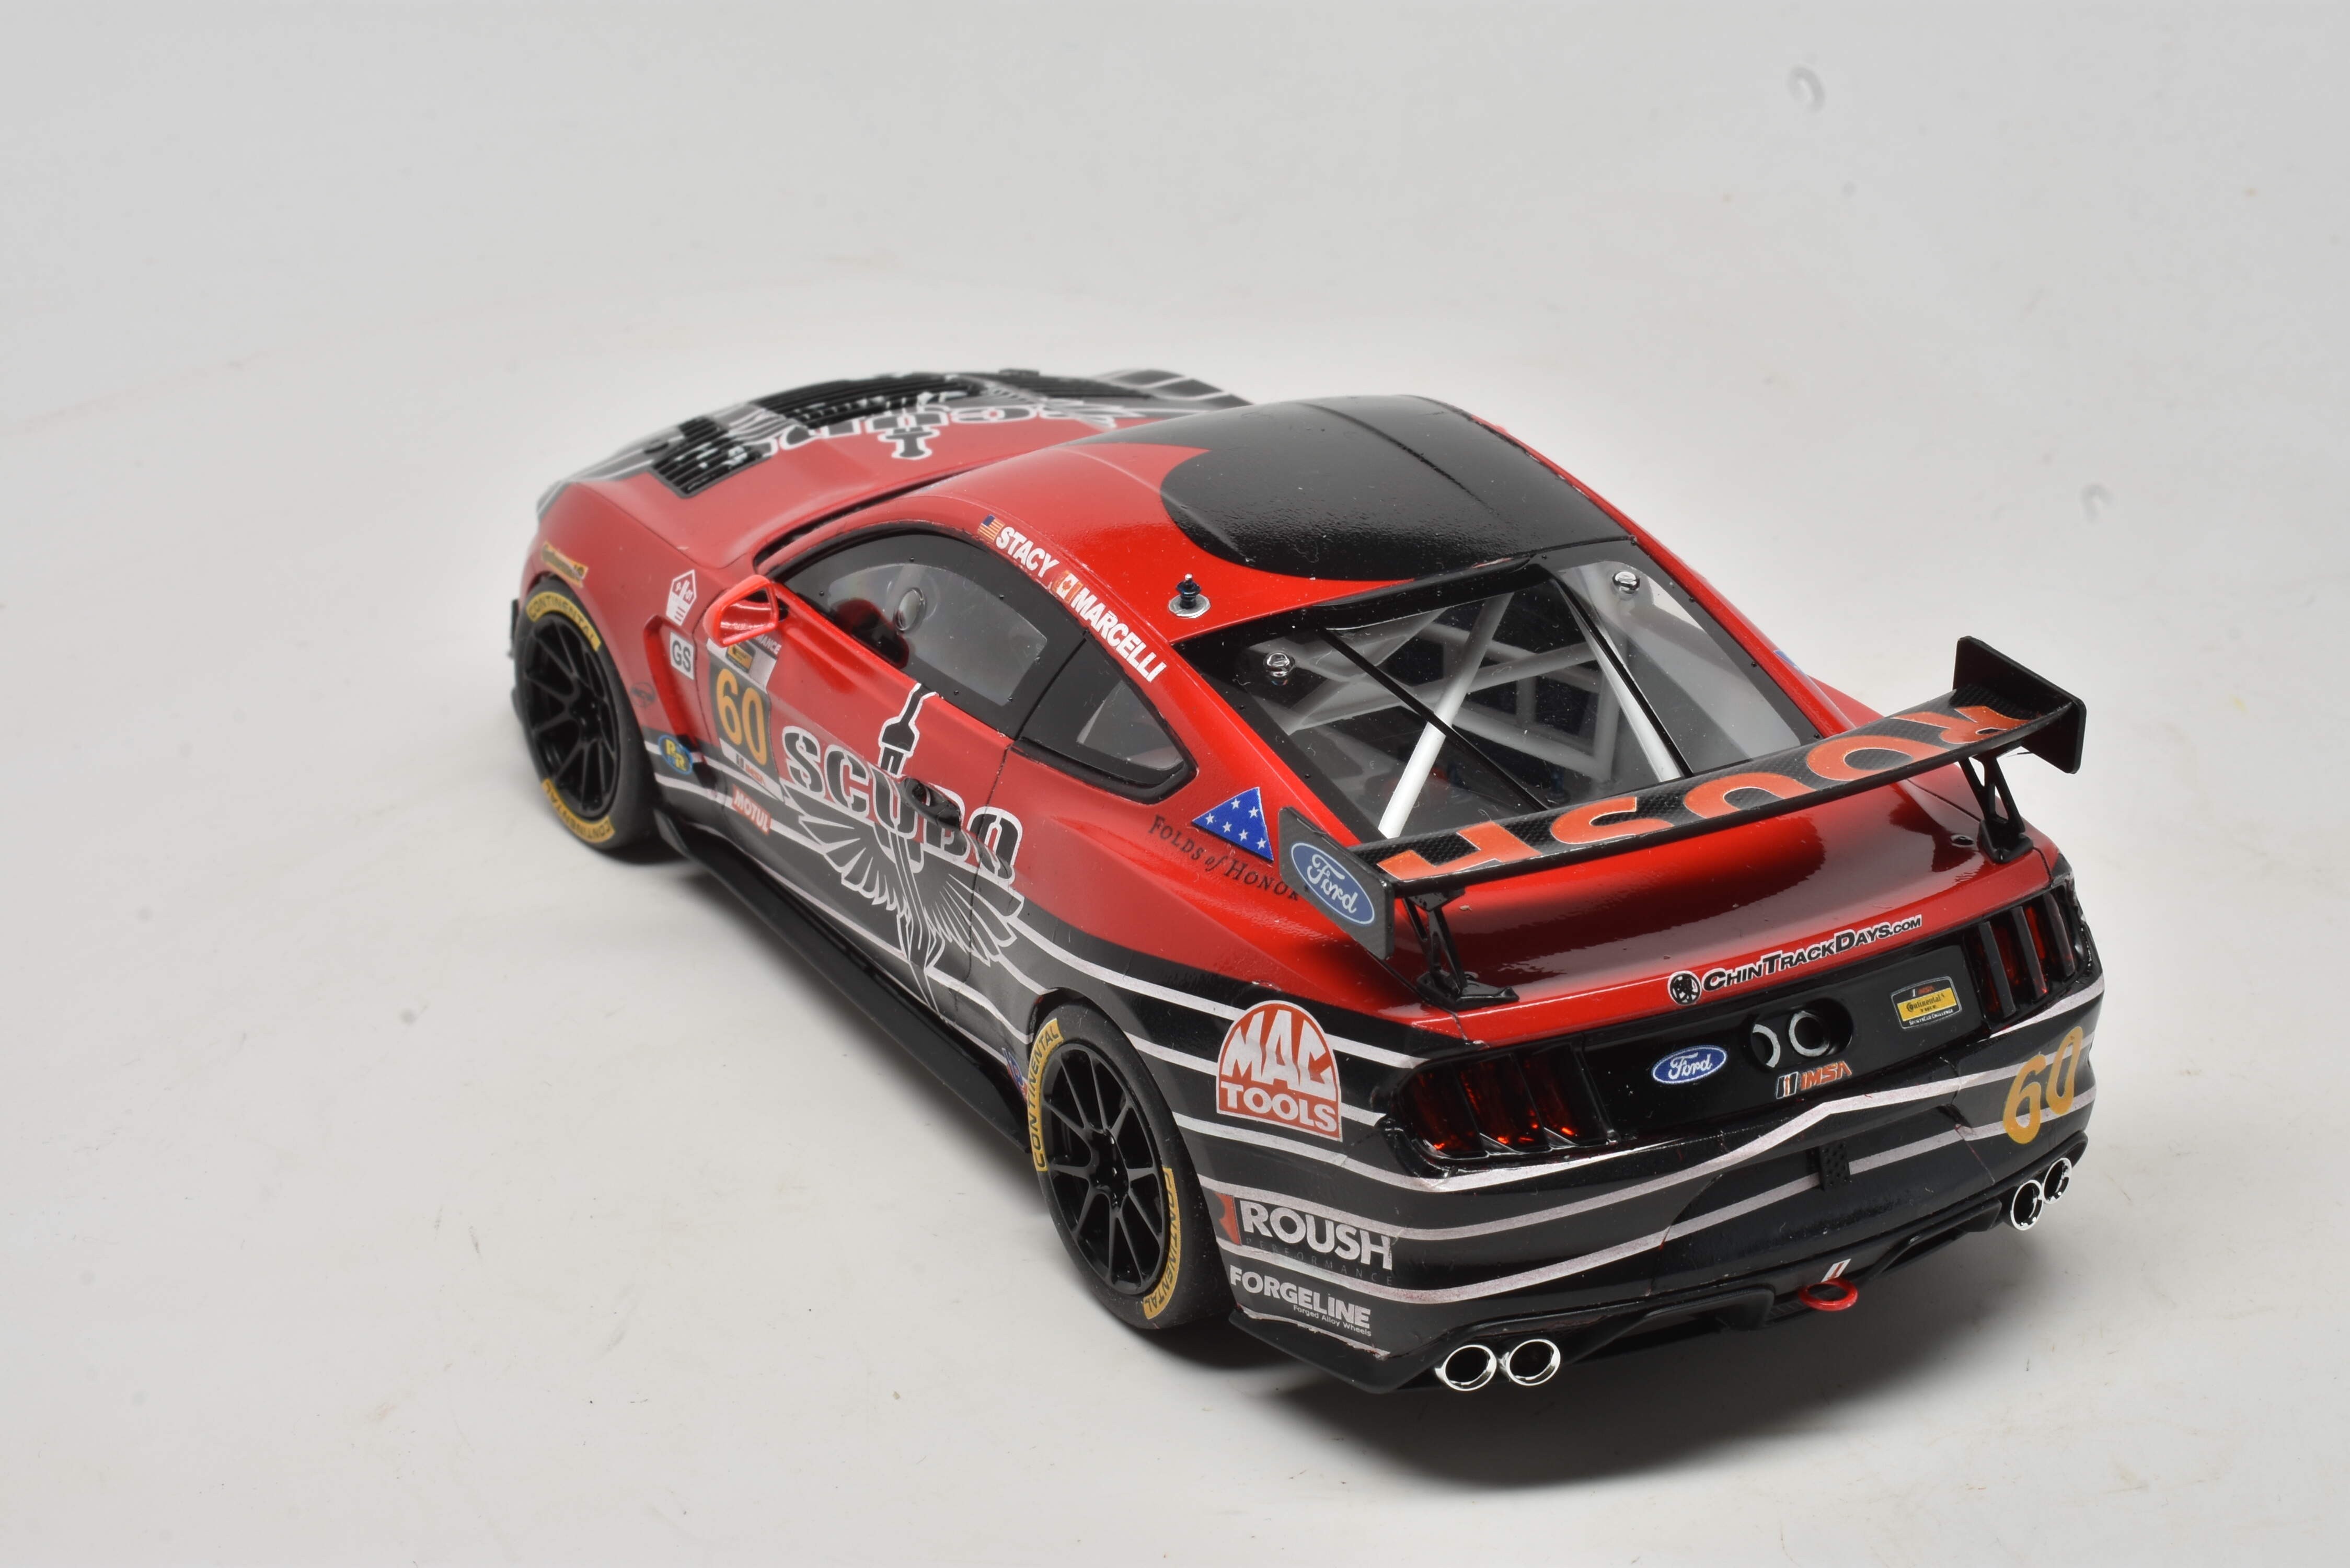
After the body was painted and decaled, the rest of the painting and assembly was like a mini-vacation. There are plenty of interior shots online to help with color selections. The only modification I made was an HGW six point harness. These harnesses use embossed diecut cardboard for the belts, and lay much better than other metal alternatives. It’s hard to see the harness when done, however.
The Tamiya car kits from the past several years all use clever engineering for assembly of the windows and lights, making it much easier to get a secure fit without glue ‘accidents’. This kit was no exception. Once the painting was done, it was only a few hours until it was ready for the display case. The car looks great and matches the online reference photos to a ‘T’. I highly recommend the kit, and also Indycals.